EWI-Plus
Building a better EWI-USB
21 December 2025
EWI-USB Limitations
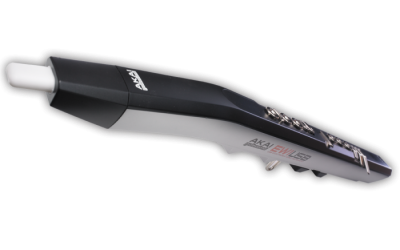
I’ve had an EWI-USB MIDI wind controller since 2015, and it’s a great instrument. It does, however, have a few limitations for me:
- It has no ability to adjust its settings without using a computer, e.g. for changing transposition
- It has no Bluetooth, and so needs to either be connected by cable to the synth, or you have to build a battery-and-BLE-adapter arrangement to transmit the MIDI signals
- It has no fine calibration of the breath – only gain
- The top and bottom octave rollers are connected together, meaning that under certain circumstances you don’t get the octave you want. If you’re in the centre octave and you want to go to the highest octave, you have to actually play a note on the intermediate octave on the way through.
- The Bis key is too big, and is easily touched accidentally
- It has no ability to send non-note commands to the synth, e.g. for program change
None of these limitations is a major problem on its own, but there are more sophisticated processors and hardware available now which could overcome all the limitations. So, I decided to replace the internals of the EWI-USB with more modern components.
Credits
I want to thank Andrew from Mowry Stringed Instruments (maker of the Warbl2) for his assistance in this project.
What is different
- I’ve removed all the internal circuit boards
- I’ve used a processor that is able to do both USB MIDI and Bluetooth Low Energy (BLE) MIDI. This enables the instrument to be connected either by USB cable to the synth, or by wireless BLE.
- I’ve included a LiPo battery (charged via USB cable)
- I’ve re-used the EWI touch keys, the octave rollers, the bite sensor, and the up/down bend sensors but connected them to capacitive sensing processor boards. The octave rollers needed special attention to separate the connections.
- I’ve installed a display and controls so the instrument configuration can be adjusted without using a computer
- I’ve fitted a “Program Change” button that enables program change commands to be quickly sent to the synth
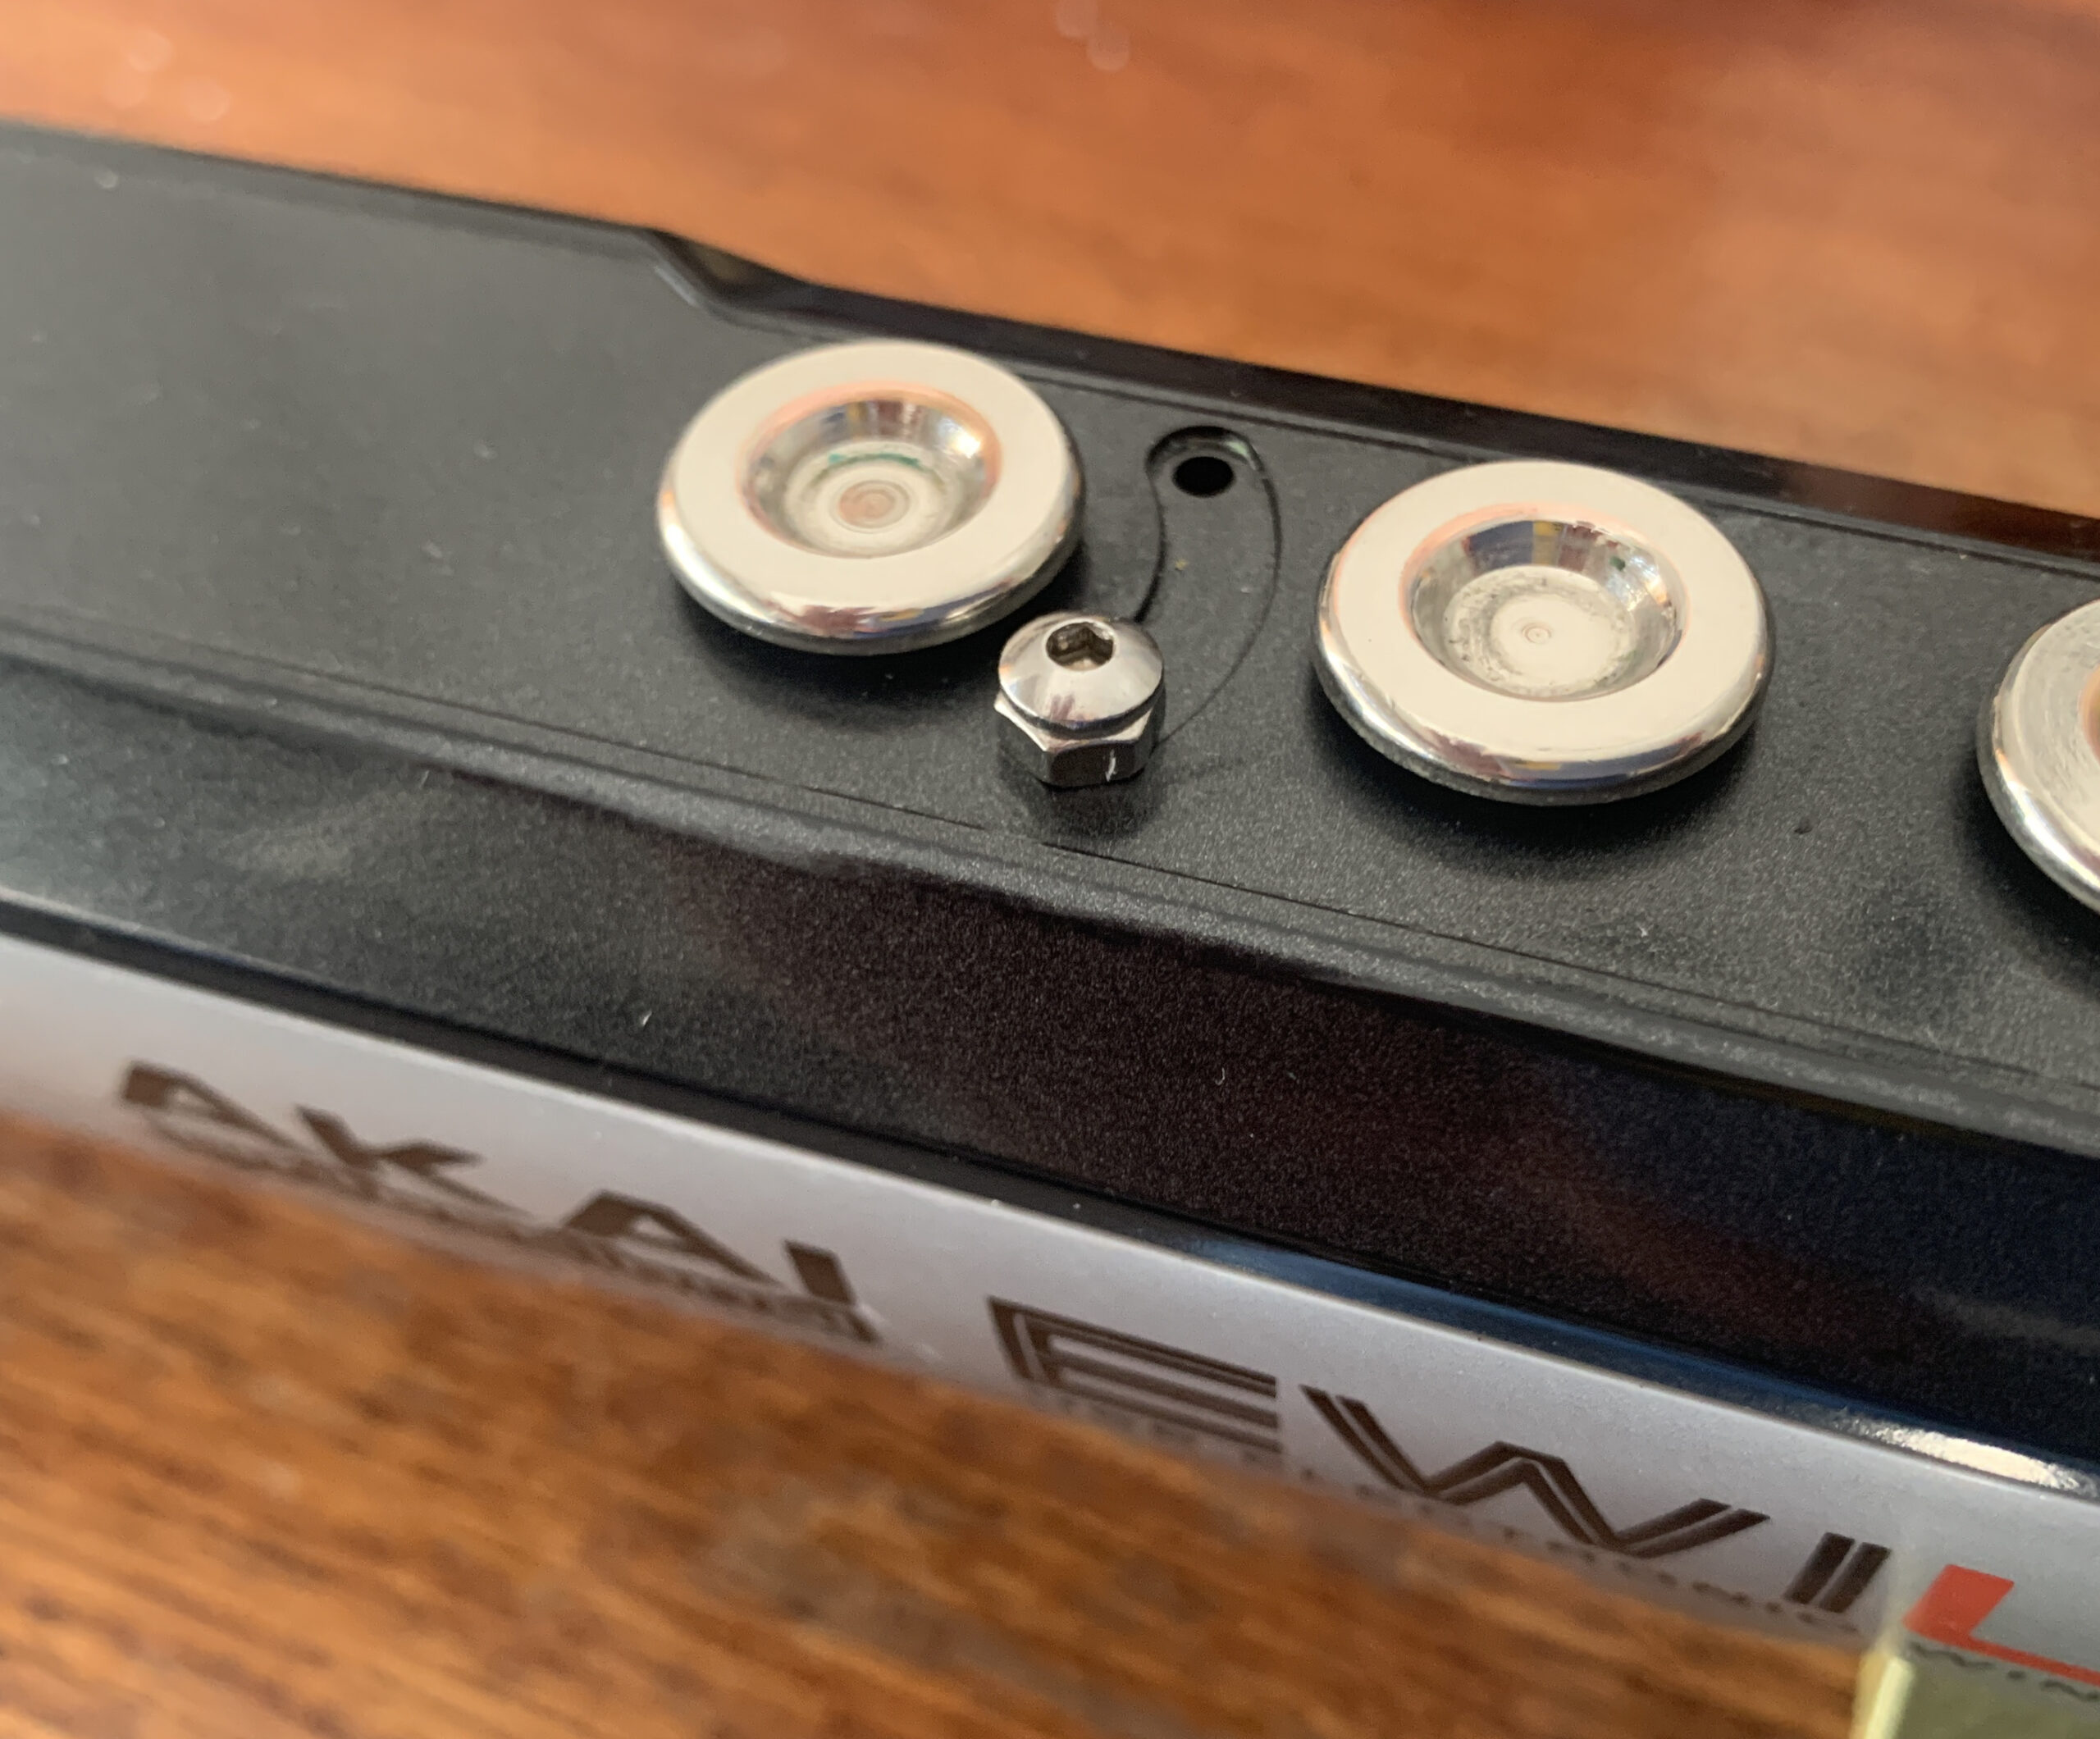
- I’ve replaced the Bis key with a much smaller domed screw
- I’ve re-routed the air channel so that it vents more air, and doesn’t drip
Choice of Hardware
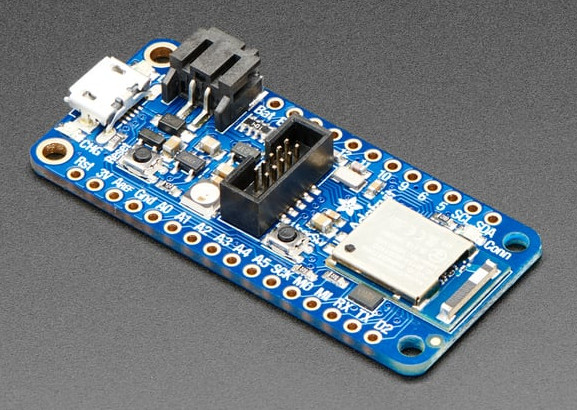
For the main processor I’ve previously used Teensys, as they have built-in native USB-MIDI capacity. However, they don’t have any wireless BLE capability, so I would have had to use a separate BLE module. I chose to use a Adafruit nRF52840 Express which has both the USB and BLE MIDI capability and is easily programmed using the Arduino IDE. It also has the capacity to use and charge a LiPo battery.
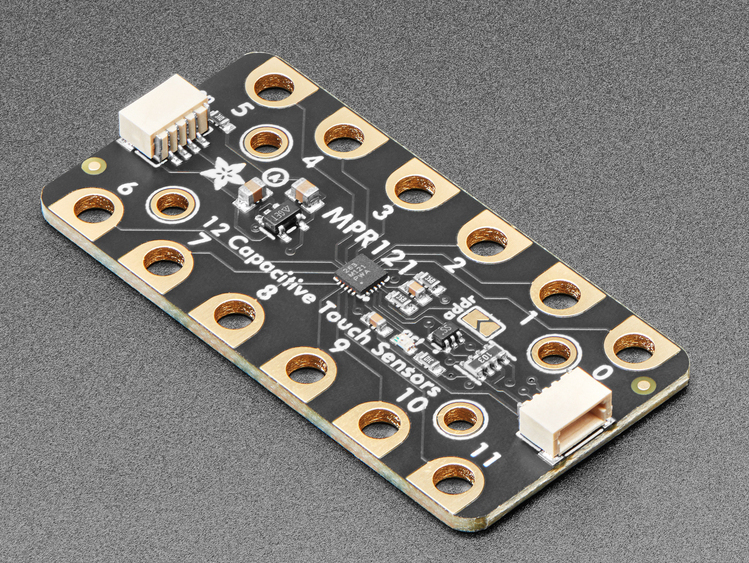
In addition to the main processor, capacitive sensing chips are required to run the EWI’s touch-sensitive keys. I chose the MPR121 boards that I have had great success with previously. I used the Qwiic connectors to daisy-chain to the main processor:
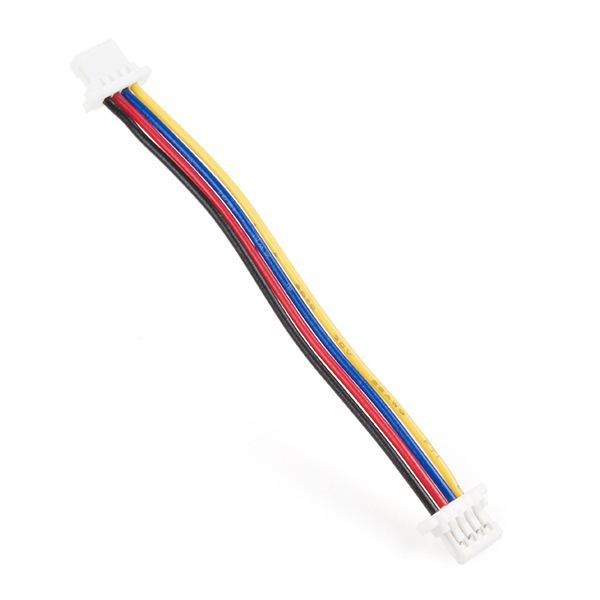
The typical Qwiic daisy-chain cable:
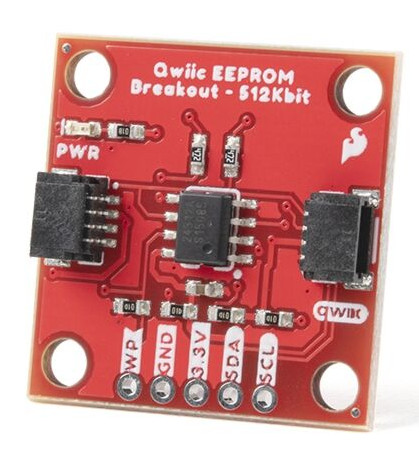
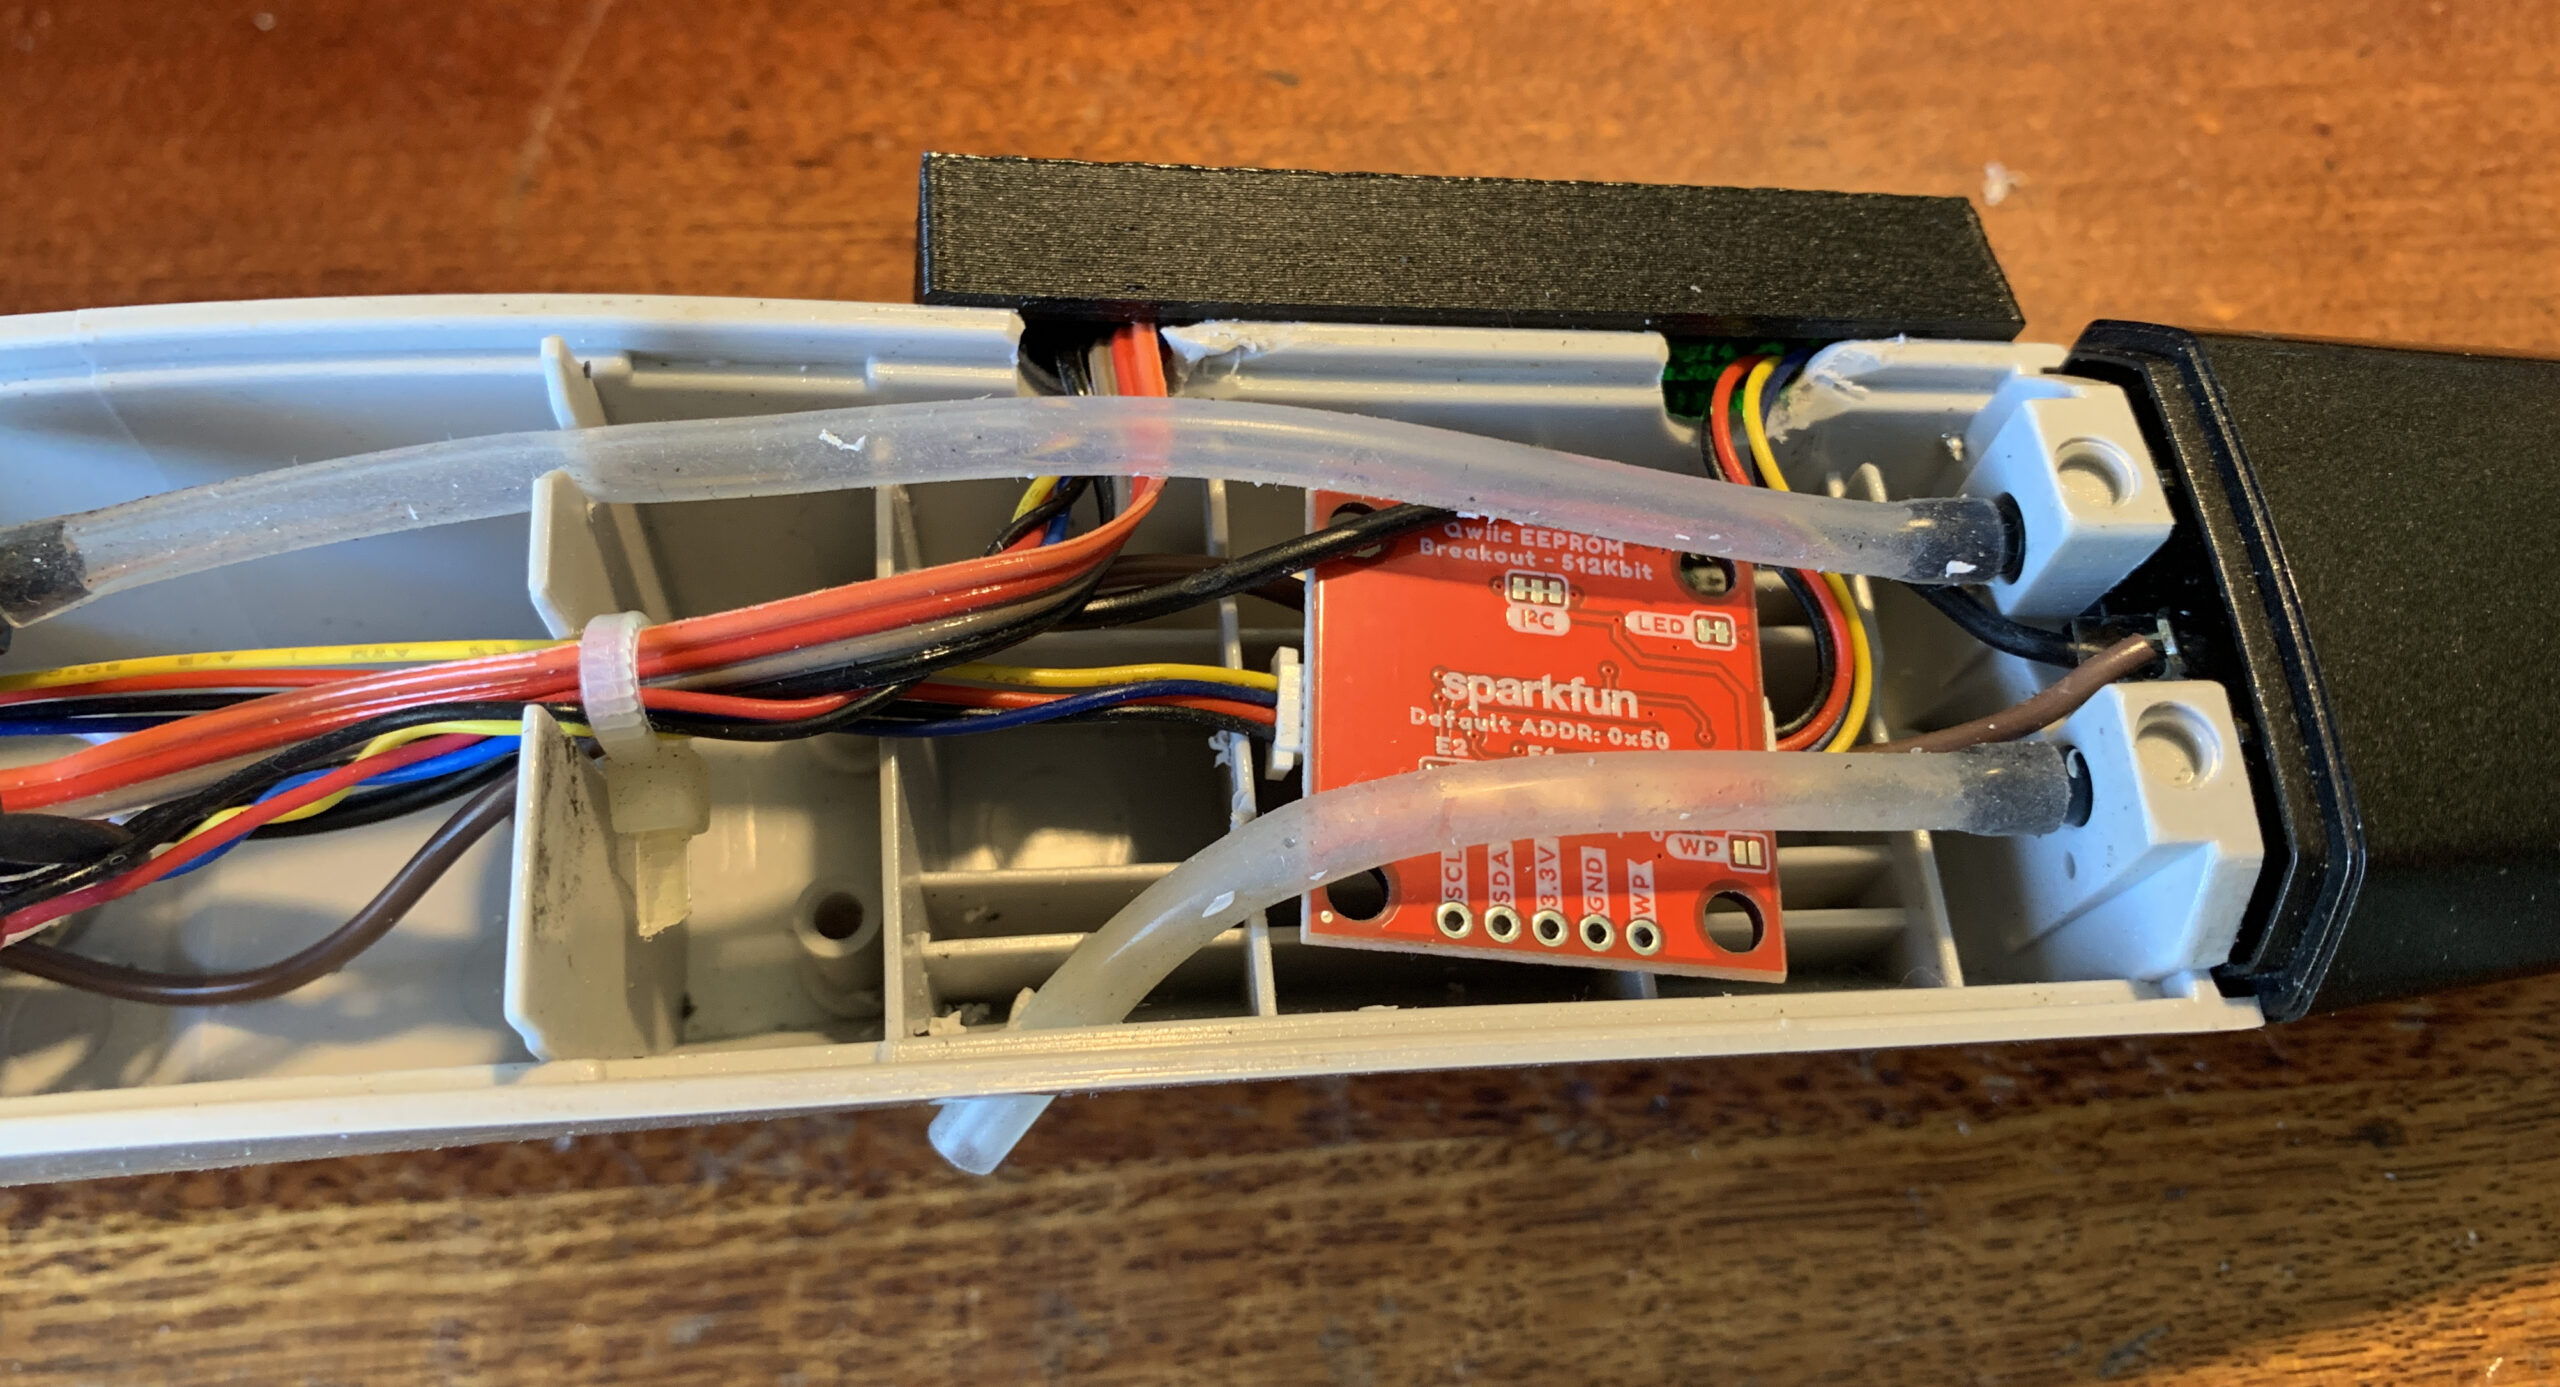
I also decided to install an EEPROM for storage of the instrument configuration:
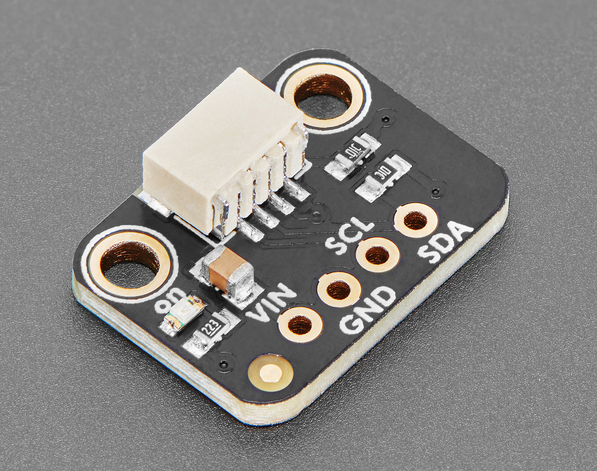
This is the Qwiic connector breakout board to start the Qwiic daisy-chain:
| Component | Description | Comments |
|---|---|---|
| Main processor | Adafruit nRF52840 Express | Has USB, BLE MIDI, and battery charging capability |
| Capacitive sensing | MPR 121 x 2 | With Qwiic connectors |
| Qwiic Connector | Adafruit Qwiic / Stemma QT Breakout Board | To enable easy connection to the other boards |
| EEPROM | SparkFun Qwiic EEPROM Breakout – 512Kbit | |
| Battery | Polymer Lithium Ion Battery (LiPo) 3.7V 1100mAh | Has connector for main processor board |
| Display | PiicoDev OLED Display Module (128×64) SSD1306 | Mounted on the side of the instrument, just below the mouthpiece |
| Breath sensor | Honeywell ABPLLND060MGAA3 | 3V3 60 millibar |
Installing the Hardware
I pulled the EWI-USB apart and removed all the internal circuit boards.
I made 3-D printed mounting plates for the octave rollers, the adjustable pinky keys, the main processor, the capacitive sensing boards, and the battery. These were all installed inside the EWI shell.
The use of Qwiic connectors made linking the various boards really easy, but see note in Programming below.
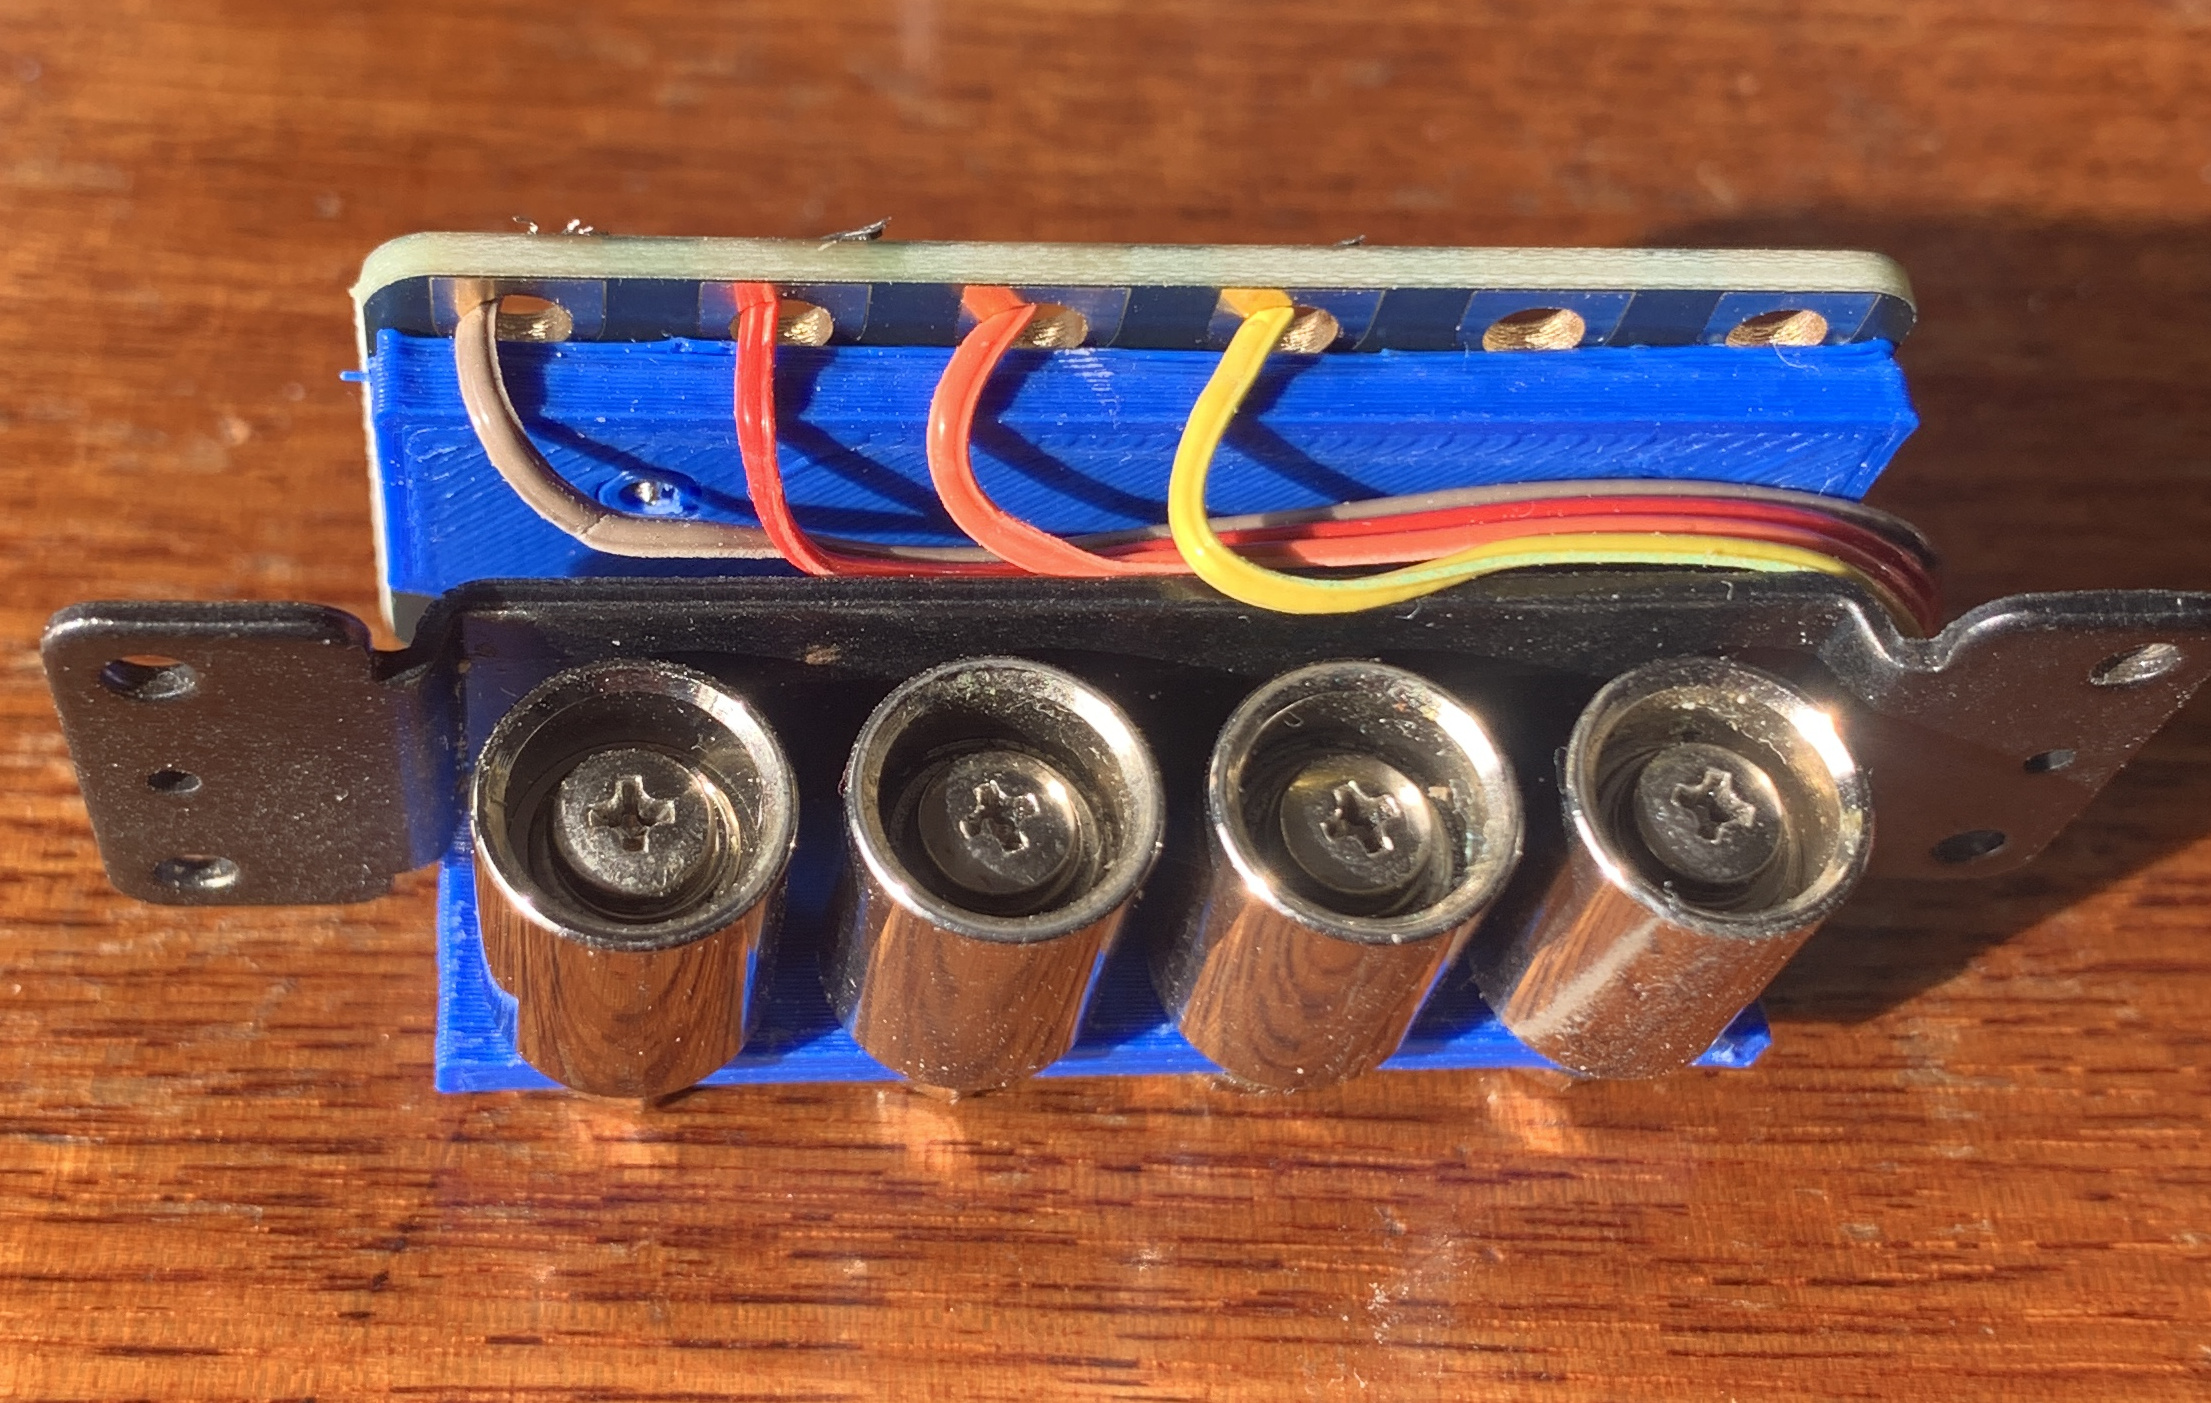
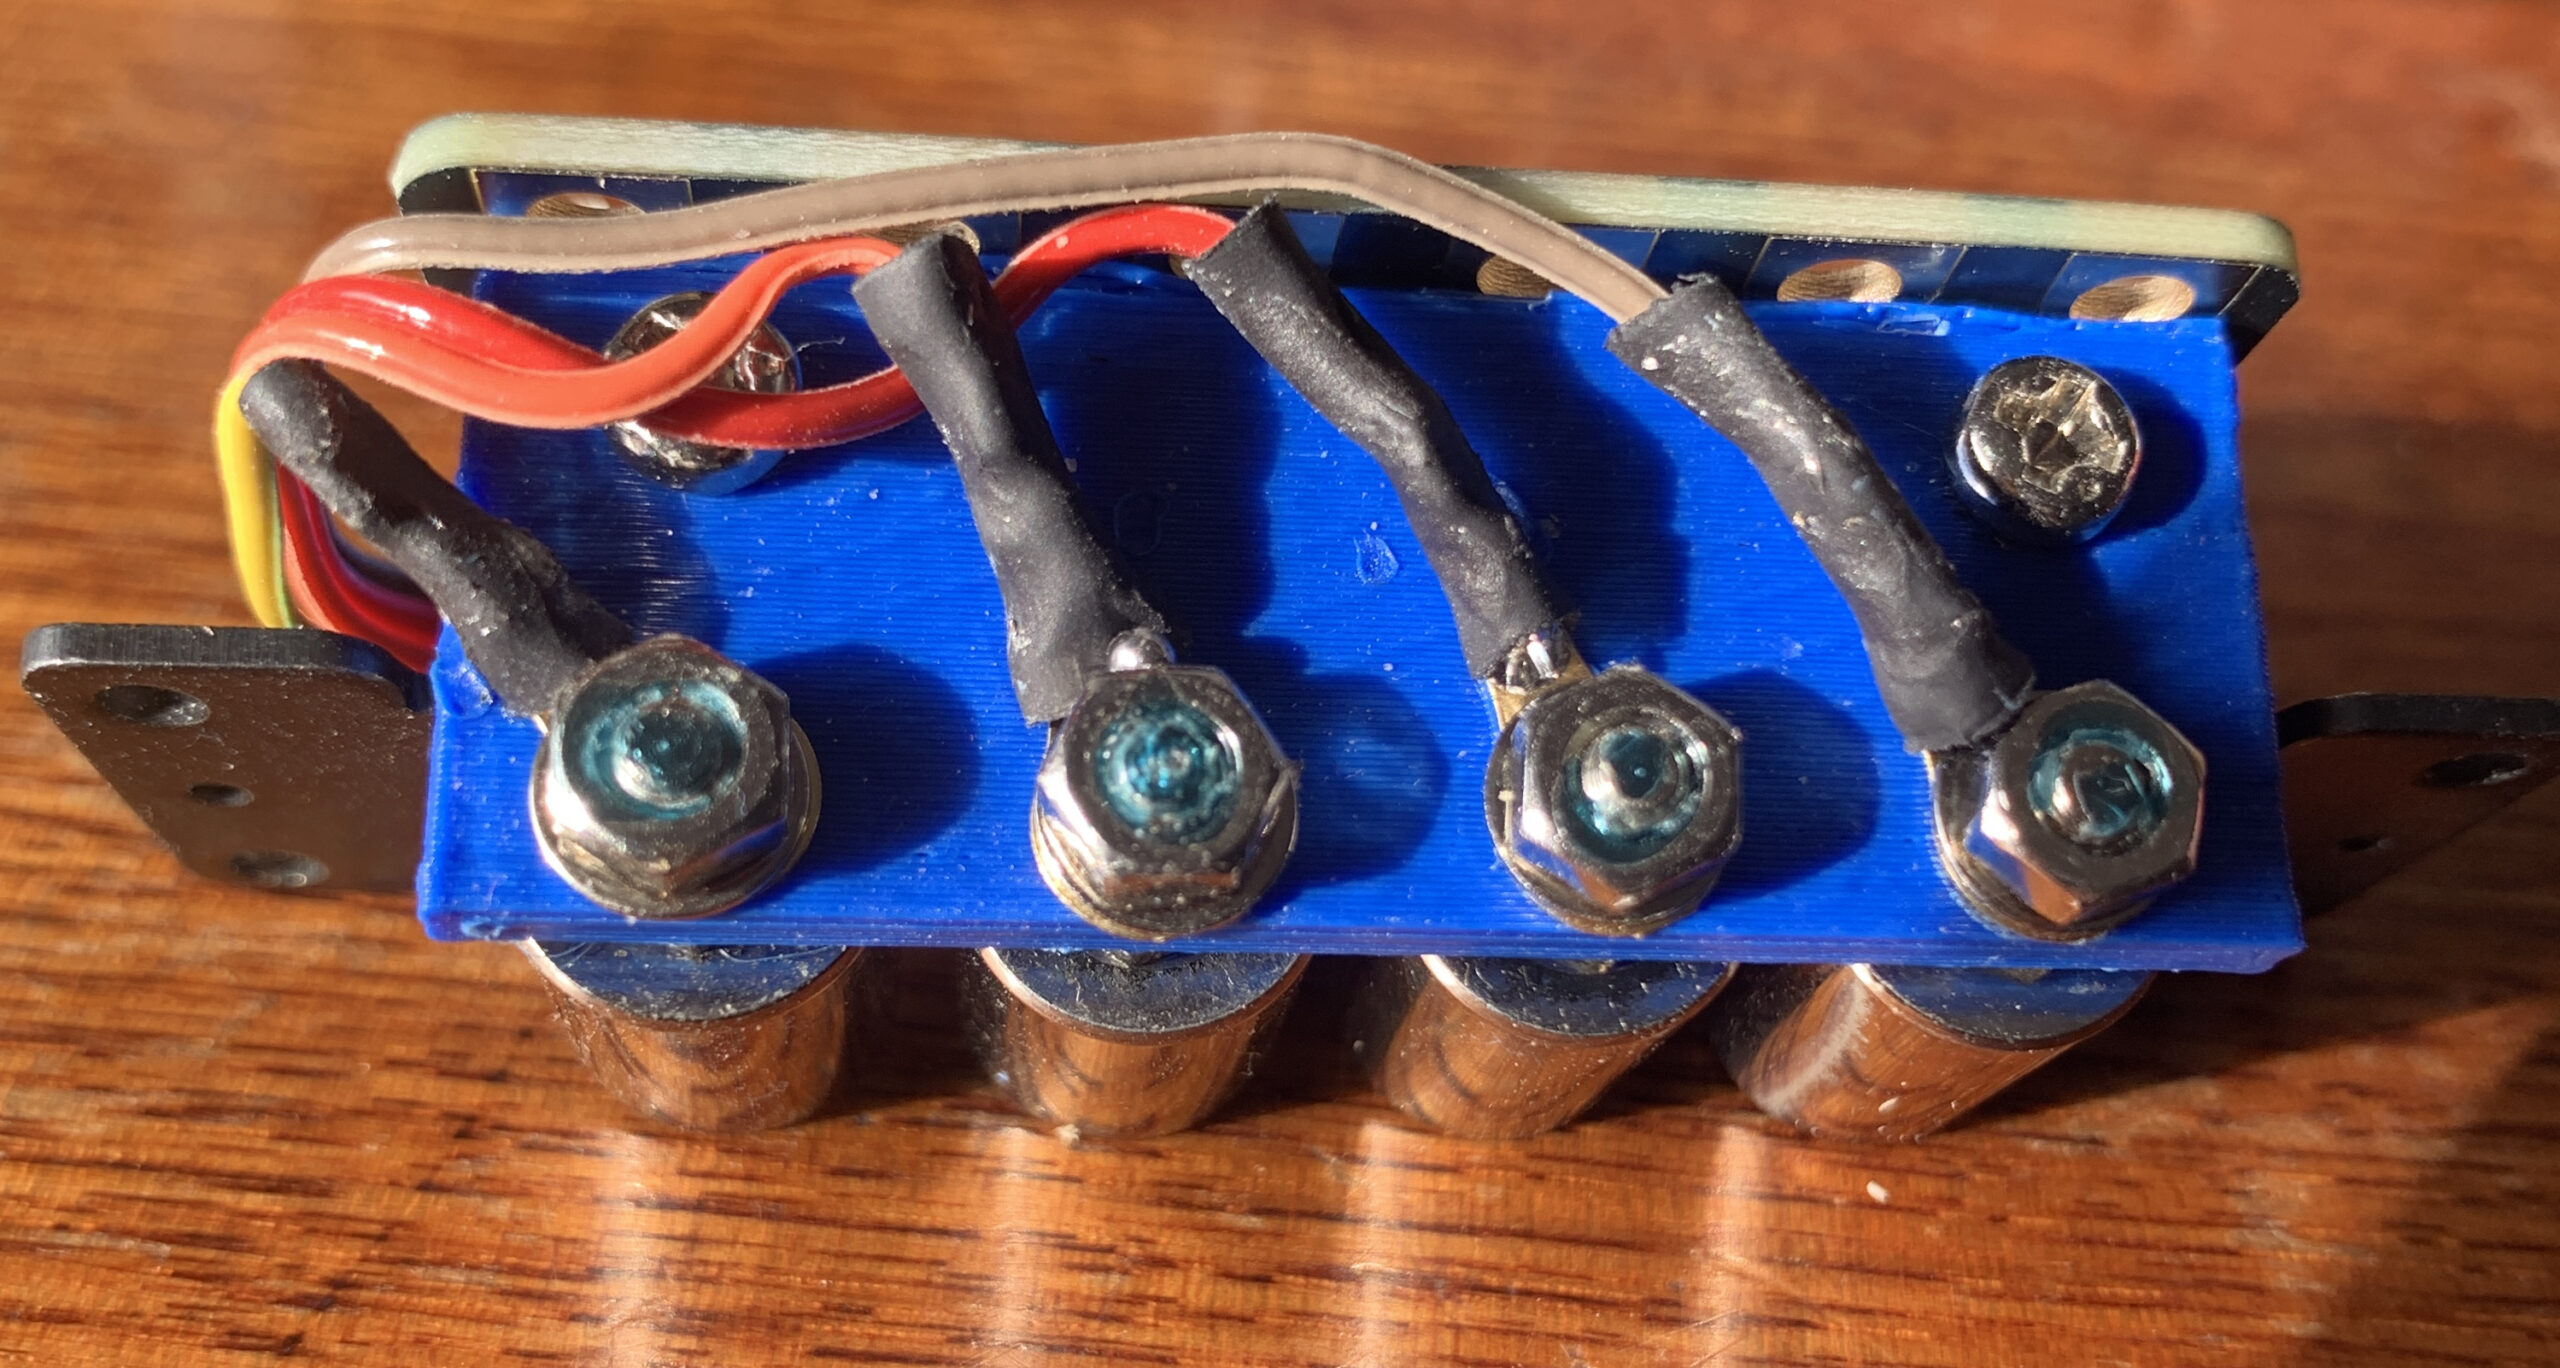
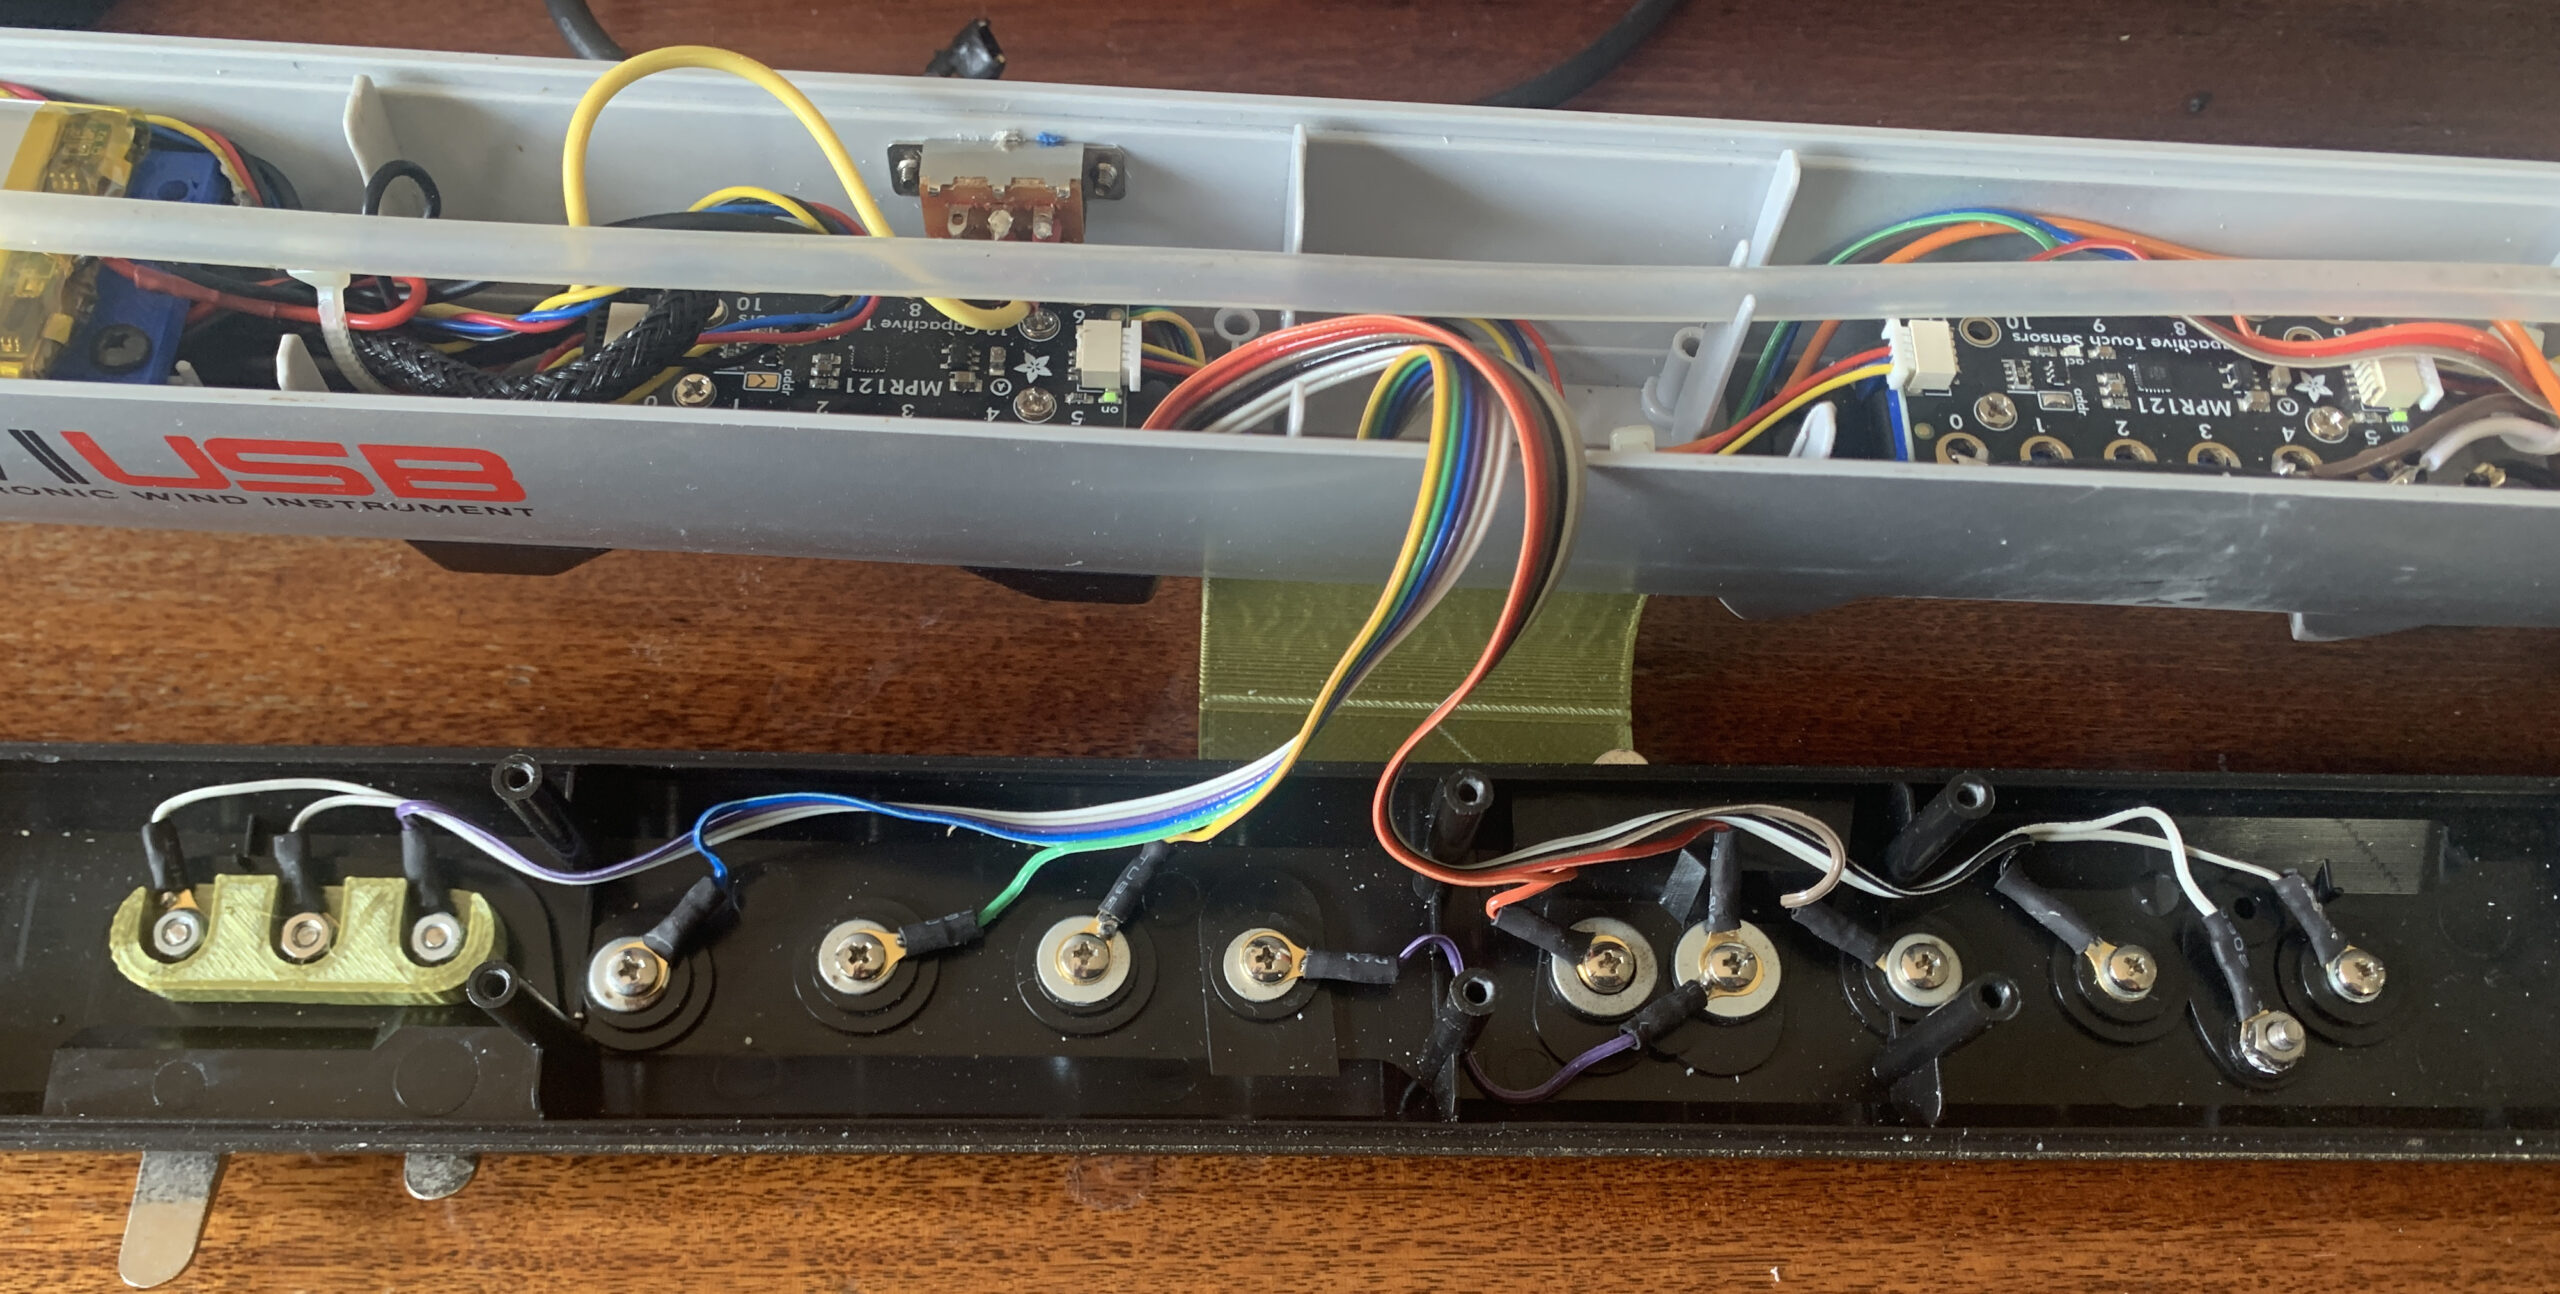
These photos are of the thumb roller assembly with the MPR121 cap-sensing board attached to the top:
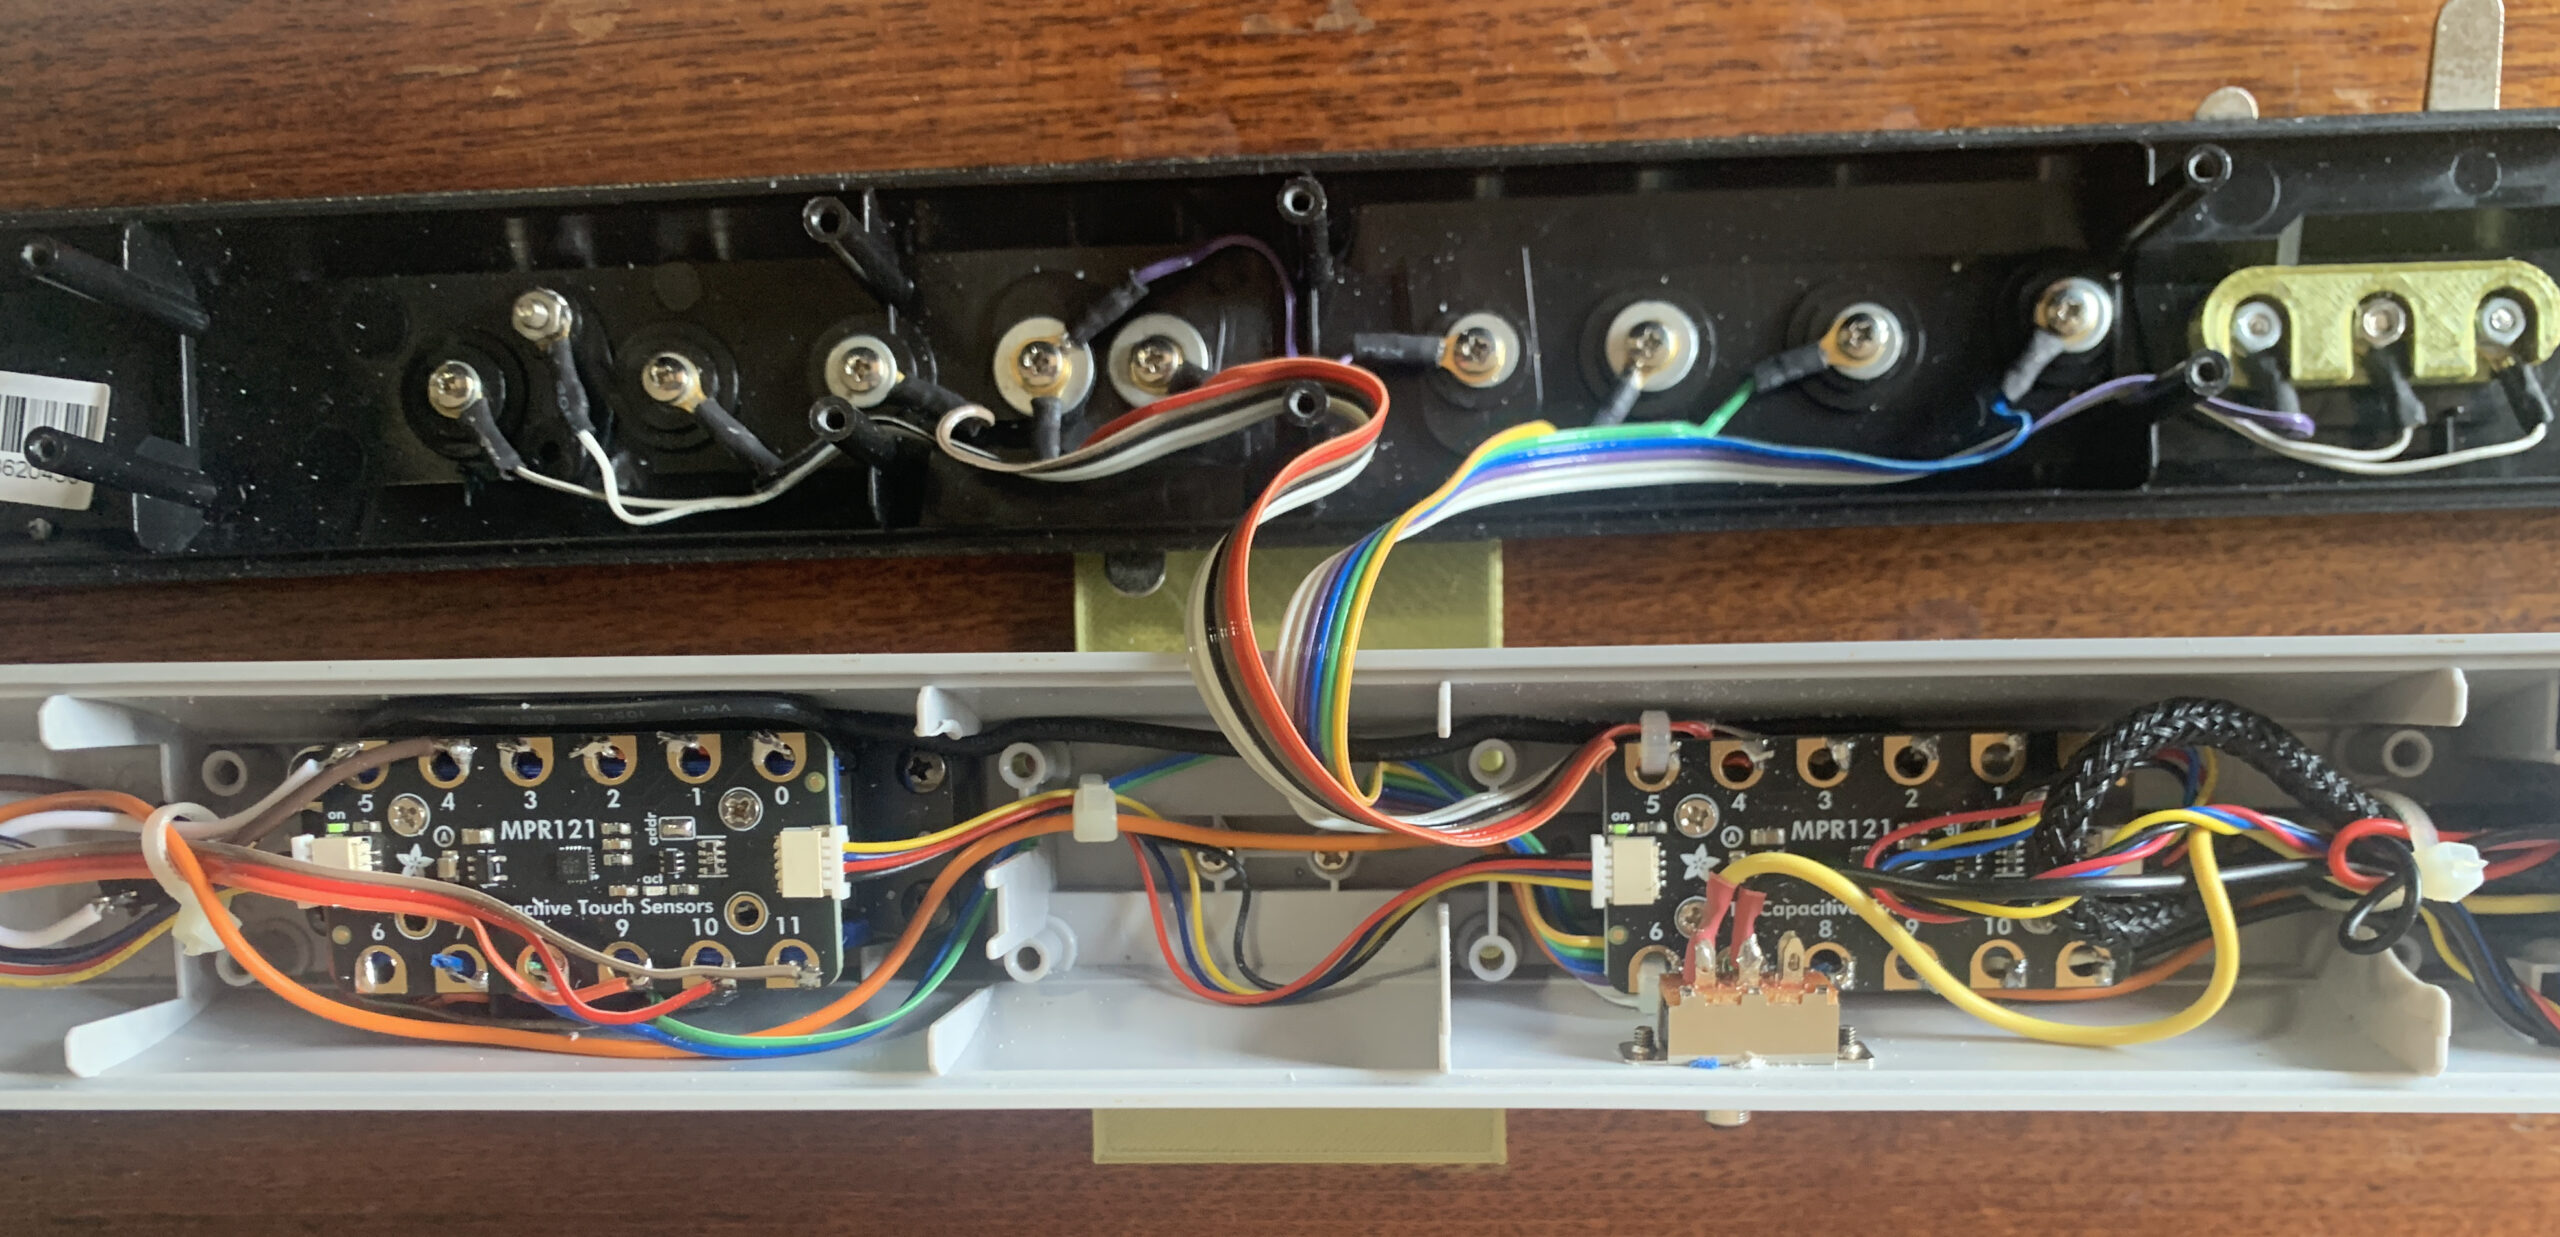
This shows the stripped-down keyboard and wiring:
The cap sensing boards mounted inside the casing. I used the MPR121s with the larger soldering pads:
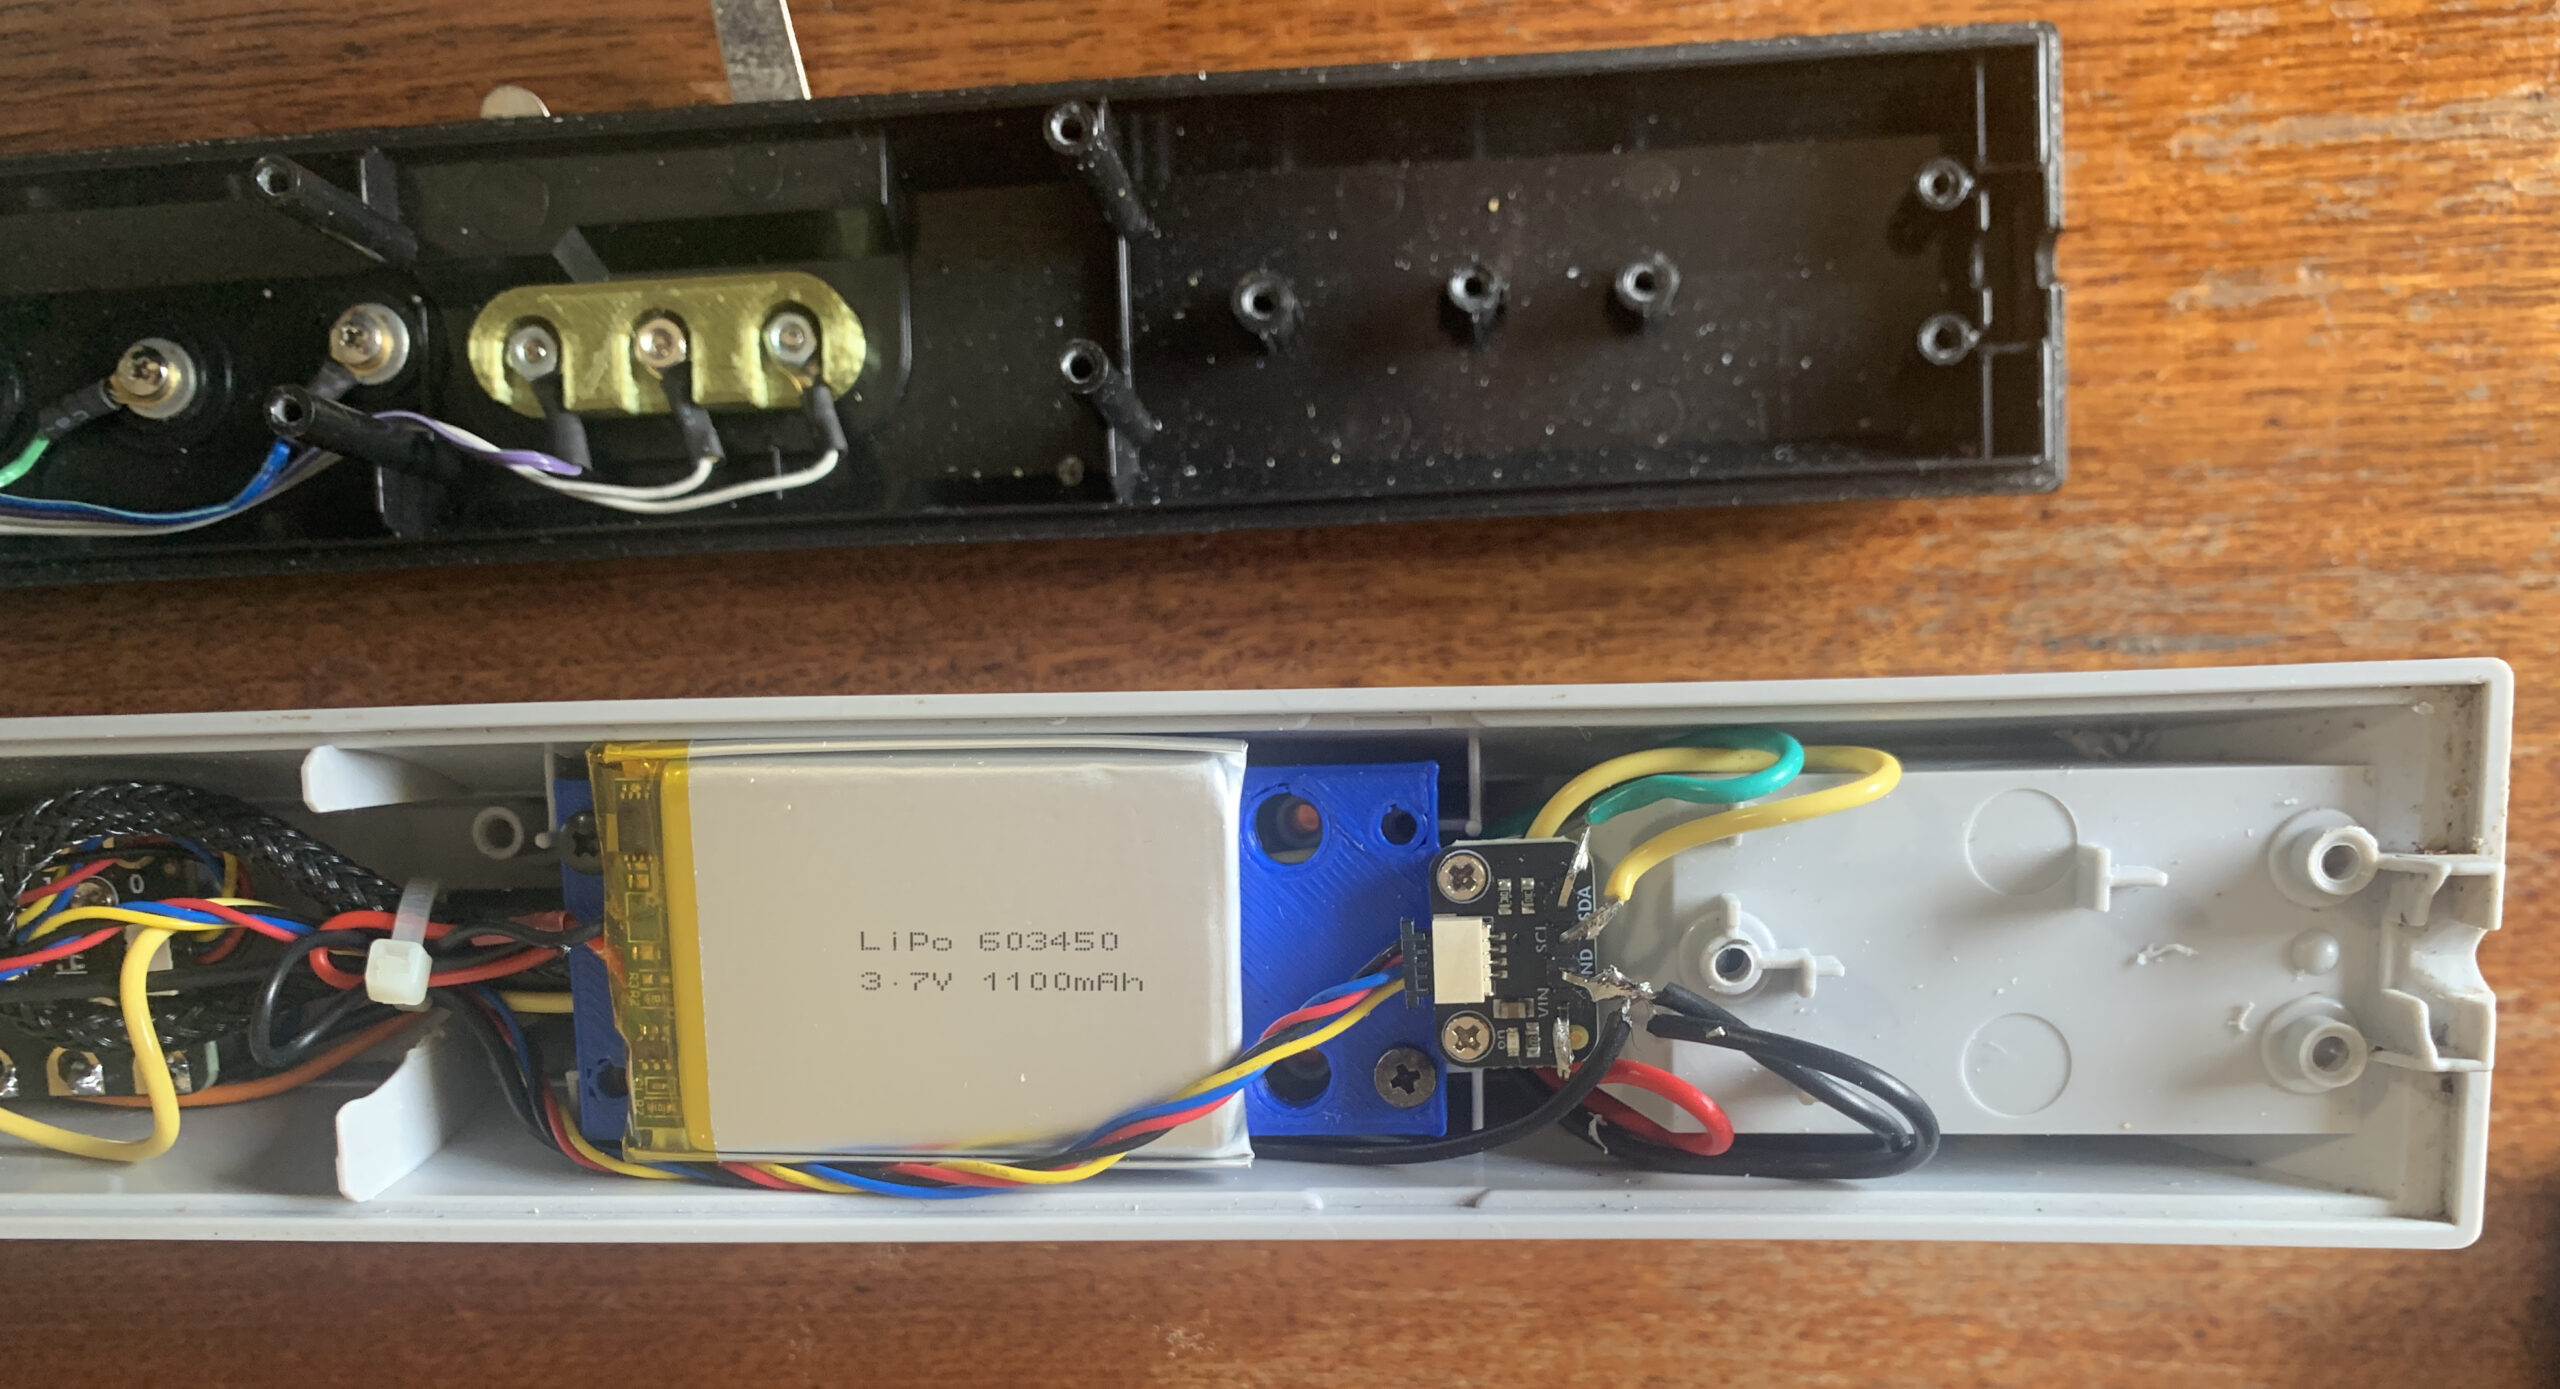
The battery and Qwiic connector breakout board. The main processor is mounted below the battery. The battery is held in with double-sided-tape:
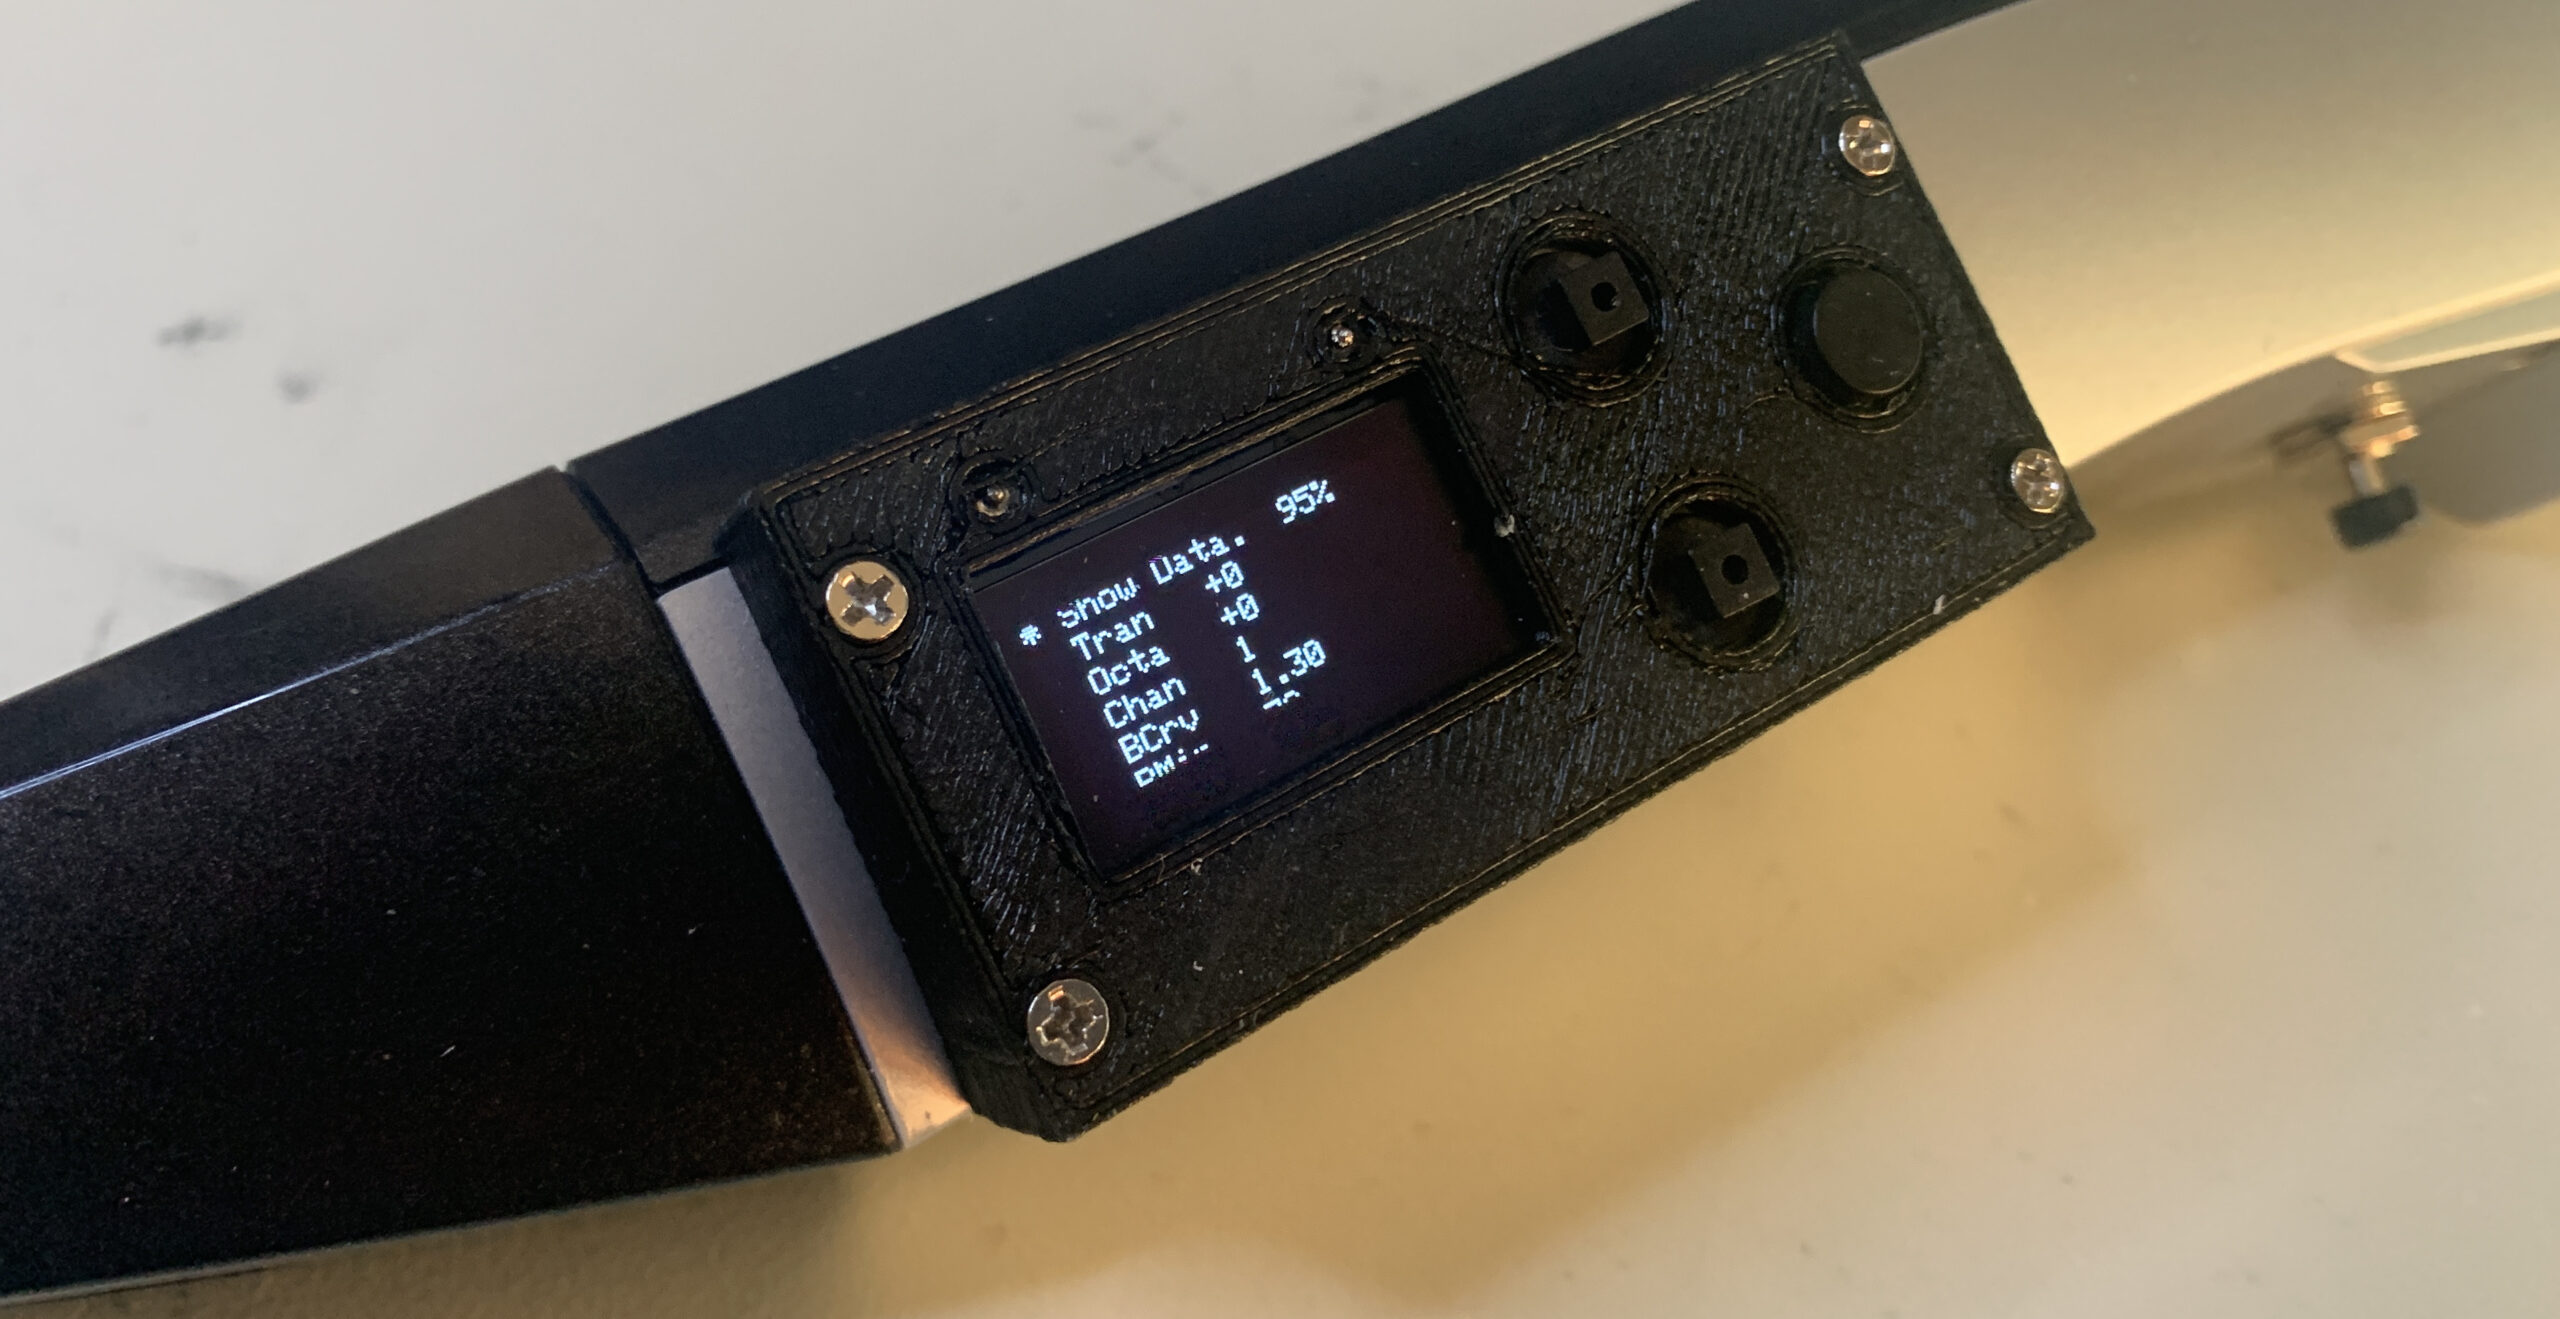
I made a screw-on 3-D printed housing for the display and the control buttons. It is mounted on the side of the instrument, as it would have been very difficult to mount the display and buttons inside the EWI shell. This works, but is not very pretty – maybe I’ll make a nicer-looking one:
I replaced the Bis key with a much smaller screw. It’s easy to touch with the tip of my index finger:
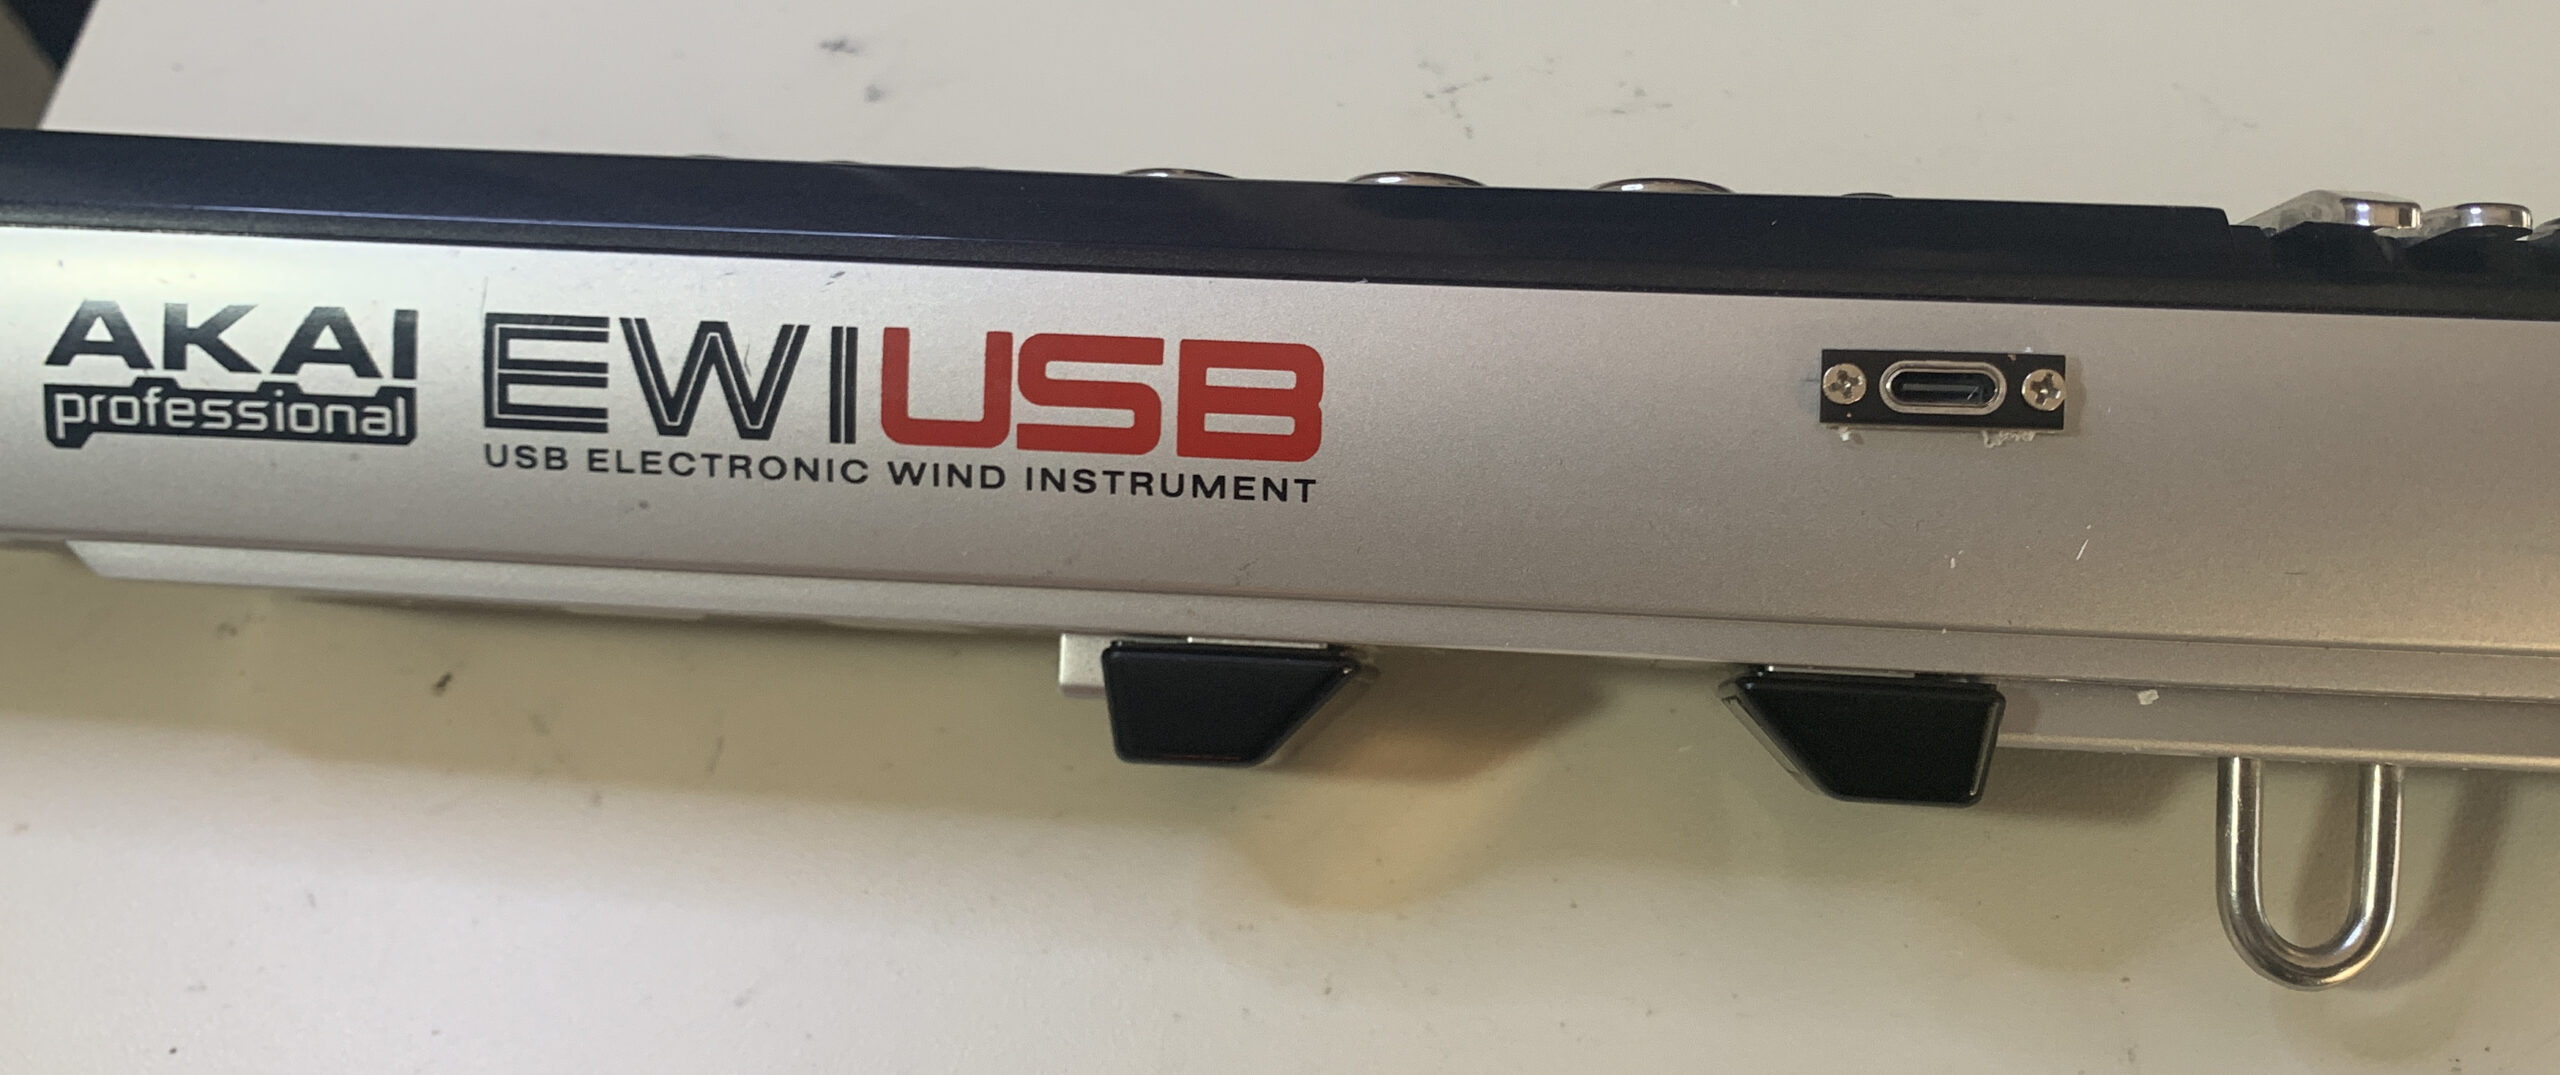
I mounted a USB-C socket on the LH outside of the shell to connect with the processor inside. I don’t intend to play this instrument with a cable – I need it only for programming and charging, so the location of the socket was only determined by the ease of running the cable internally:
I mounted a sliding power switch on the RH side:
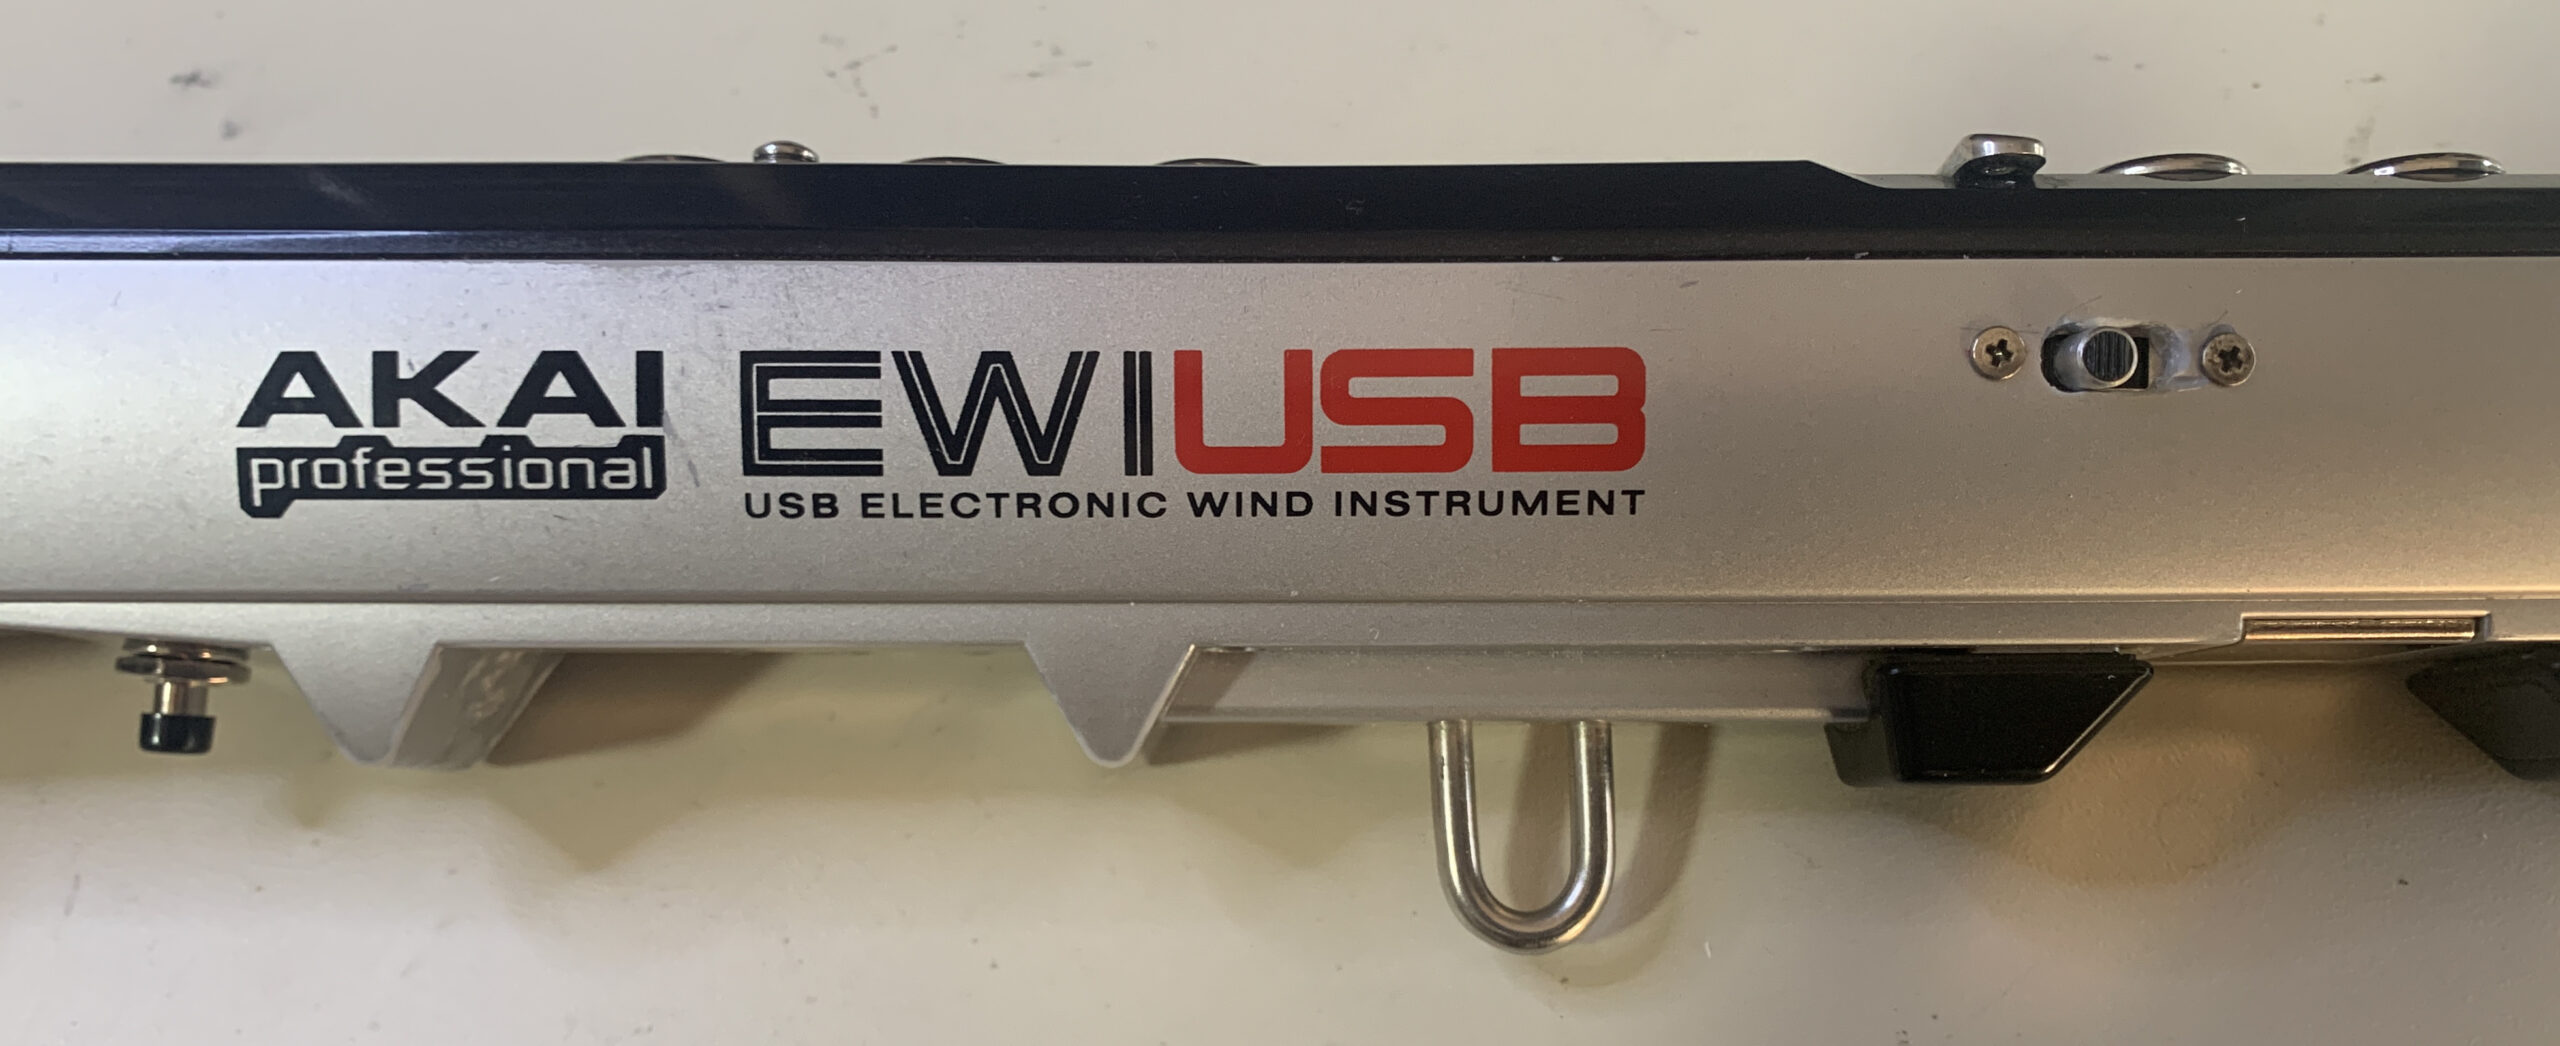
In the above photo you can also see the black “Program Select” button on the left. Clicking that, in combination with the front keys changes the selected program.
And this is what it looked like before I screwed it back together:
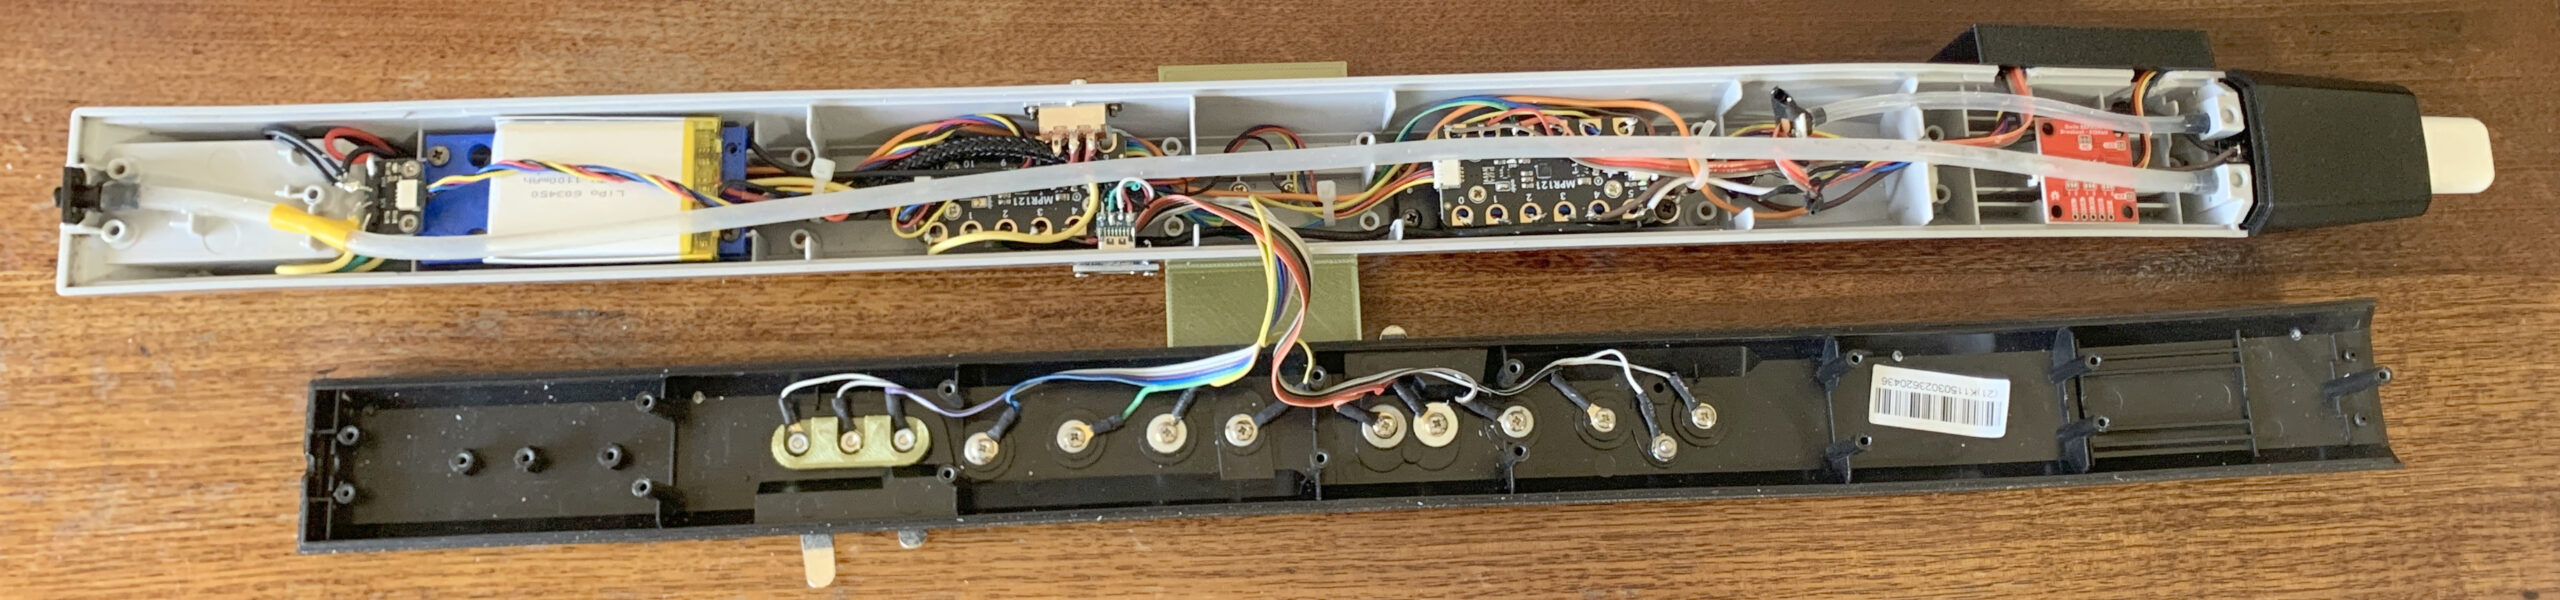
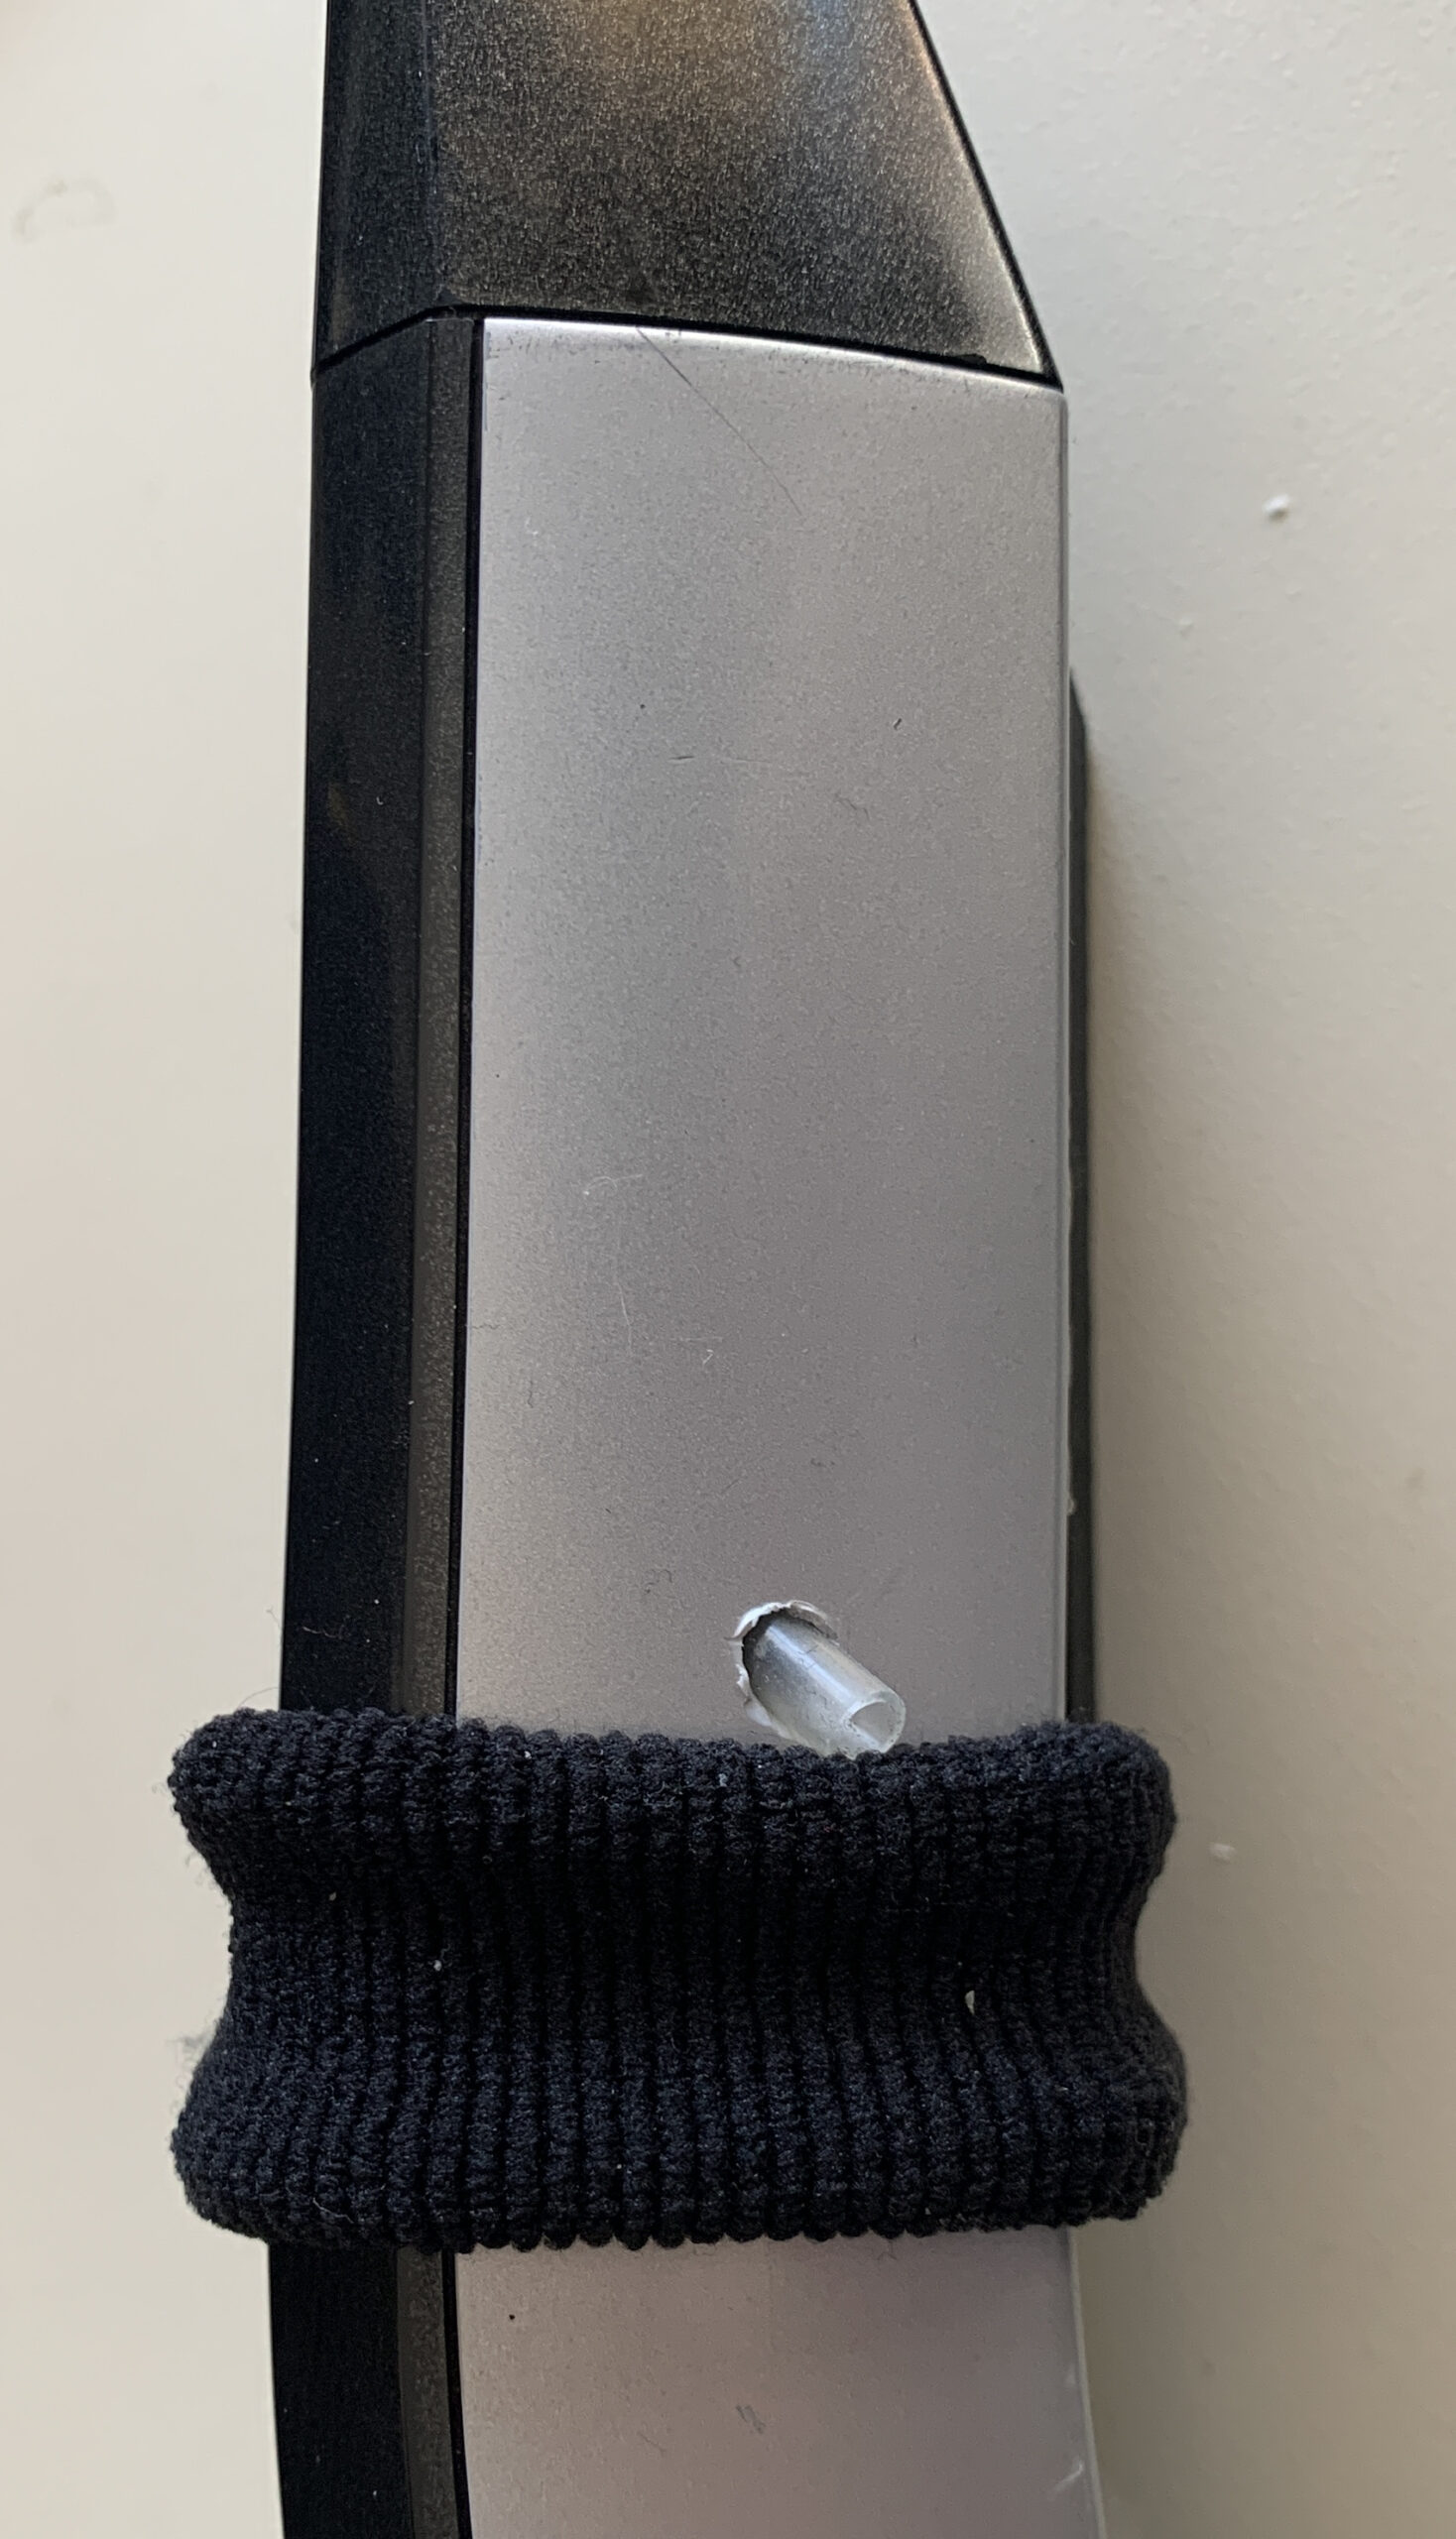
Just after I took the above photo I re-routed the main air tube. I drilled the air hole in the mouthpiece to a larger diameter and made the tube (the lower one in the photo) come out the side of the instrument, like this:
I wrapped an absorbent band around the instrument to stop drips. It looks like this on the outside:
The Programming
I re-used the program from my e-WB, so most of the debugging was minimal. Changes were needed to handle the USB MIDI and BLE MIDI. The Adafruit libraries for these were easy to use (Thanks to Andrew Mowry’s Warbl2 code), and were up and running quickly. The capacitive sensing boards worked quite well on the EWI’s touch sensitive keys, and also on the UP/DOWN bend keys and the bite sensor (which are all capacitive).
A big improvement on my previously constructed instruments was the use of the ResponsiveAnalogRead Arduino library. Thanks again to Andrew Mowry for this enhancement. It really simplifies the control of the breath pressure signal.
I discovered a problem with using the Qwiic connectors and cables – I wasn’t able to get the 1MHz I2C bus speed that I had used previously. I was limited to 400kHz and so the interrogation time for the MPR121s (cap sensing of the touch keys) was quite a lot slower than it had been on my other instruments. Since this is the speed-limiting step on the main Arduino program loop, it could have been a serious problem. However, I have the loop cycle time slowed to a minimum of 5msec so that it doesn’t overload the MIDI stream, and as a result there was sufficient spare time to accommodate the slower I2C bus speed. There was no performance hit.
Electrical Schematic

The Results
The ability to configure the instrument without using a computer is great – I’d used the method before, so it wasn’t revolutionary, just more convenient. The BLE-MIDI works beautifully – I’m using a Widi-Bud Pro to receive the MIDI, and it is really fast. The battery capacity was a surprise – I’ve had it running for over 6 hours, and there was still plenty left. I haven’t attempted to do any power-saving programming! I chose the 1100mAh battery because it fitted easily in the space. I’ll do some tests to see what the real-life usage is like. Watch this space.
Another surprise was that the instrument is 100g lighter than it was originally.
The instrument performs well. The big differences are the ability to operate wirelessly, the quick program change, and the ability to change the internal configuration without a computer. As far as playing is concerned, it doesn’t do anything more than the standard instrument does, but the control and fine adjustment of the analog functions (breath, bite, bend up and bend down) are much better.
Update History:
- 31/12/2025 – updated elec schematic
- 21/12/2025 – Added elec schematic
- 19/11/2025 – added programming notes
- 22/9/2025 – added processor photos
- 18/9/2025 – updated MPR121 issues
- 13/9/2025 – Original post